MIDI Controllers

This was a collaborative passion project that I worked on with Geoffrey Eselgroth between late 2014 and early 2016.
Design.

Build.

Play.

An affordable and fun custom MIDI controller
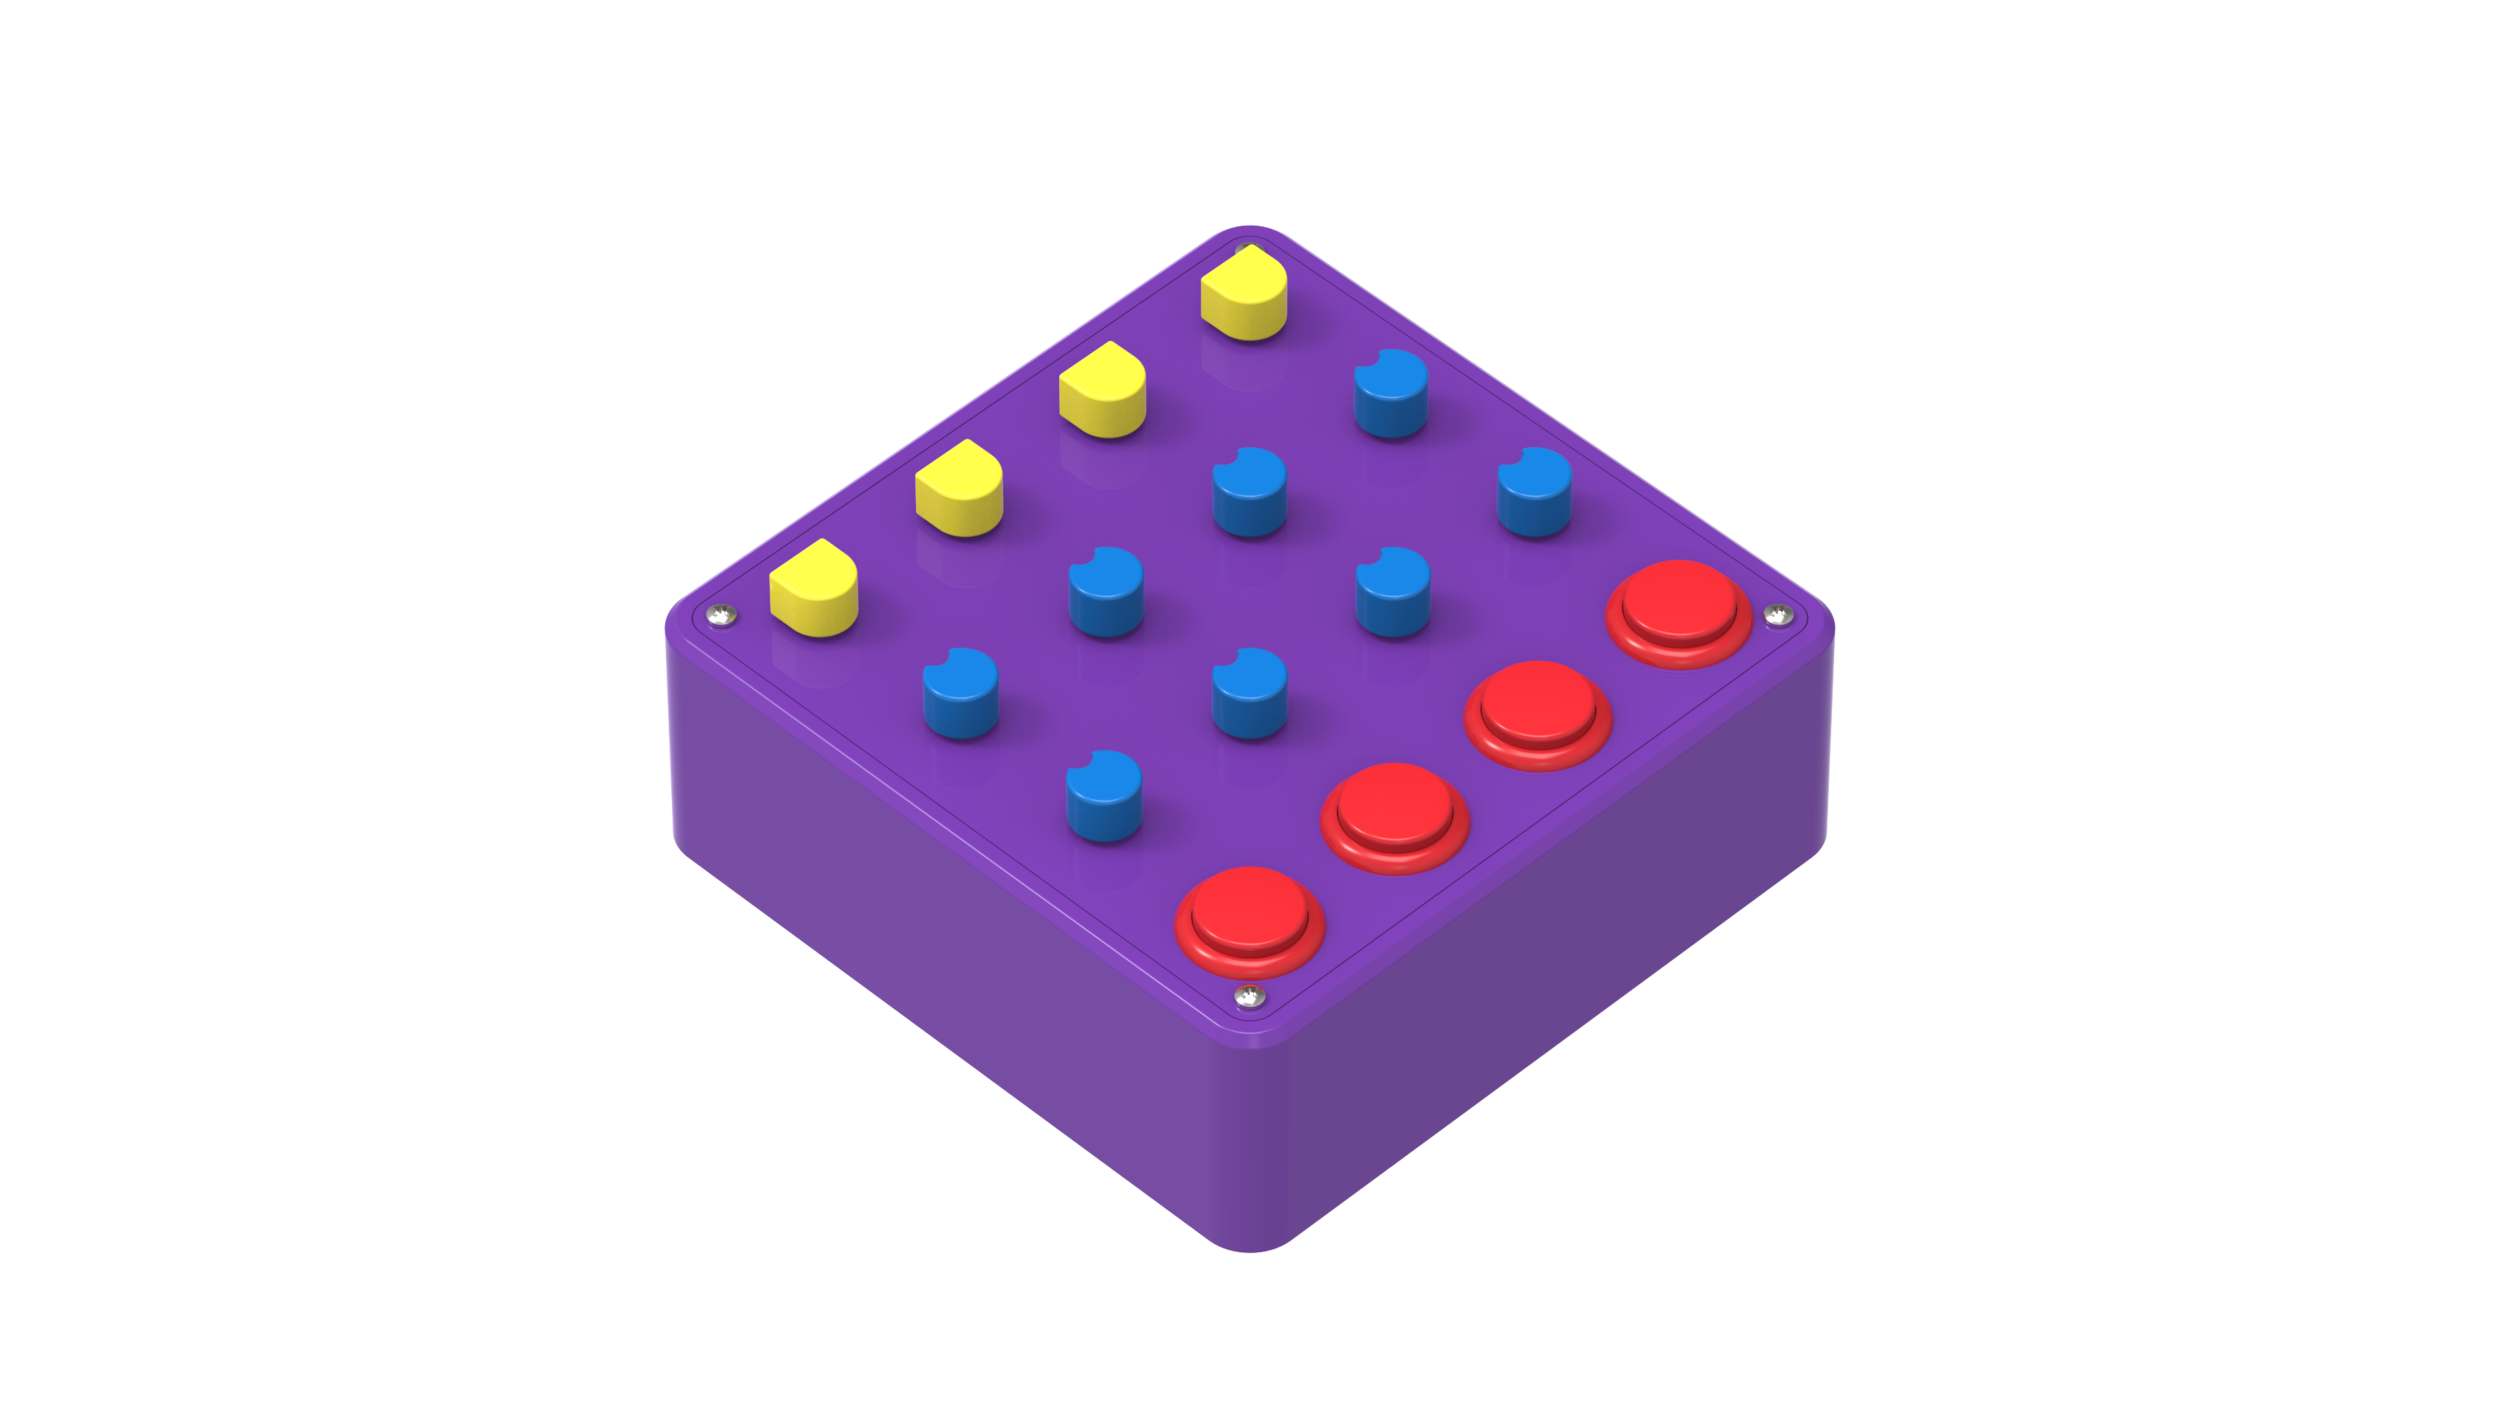
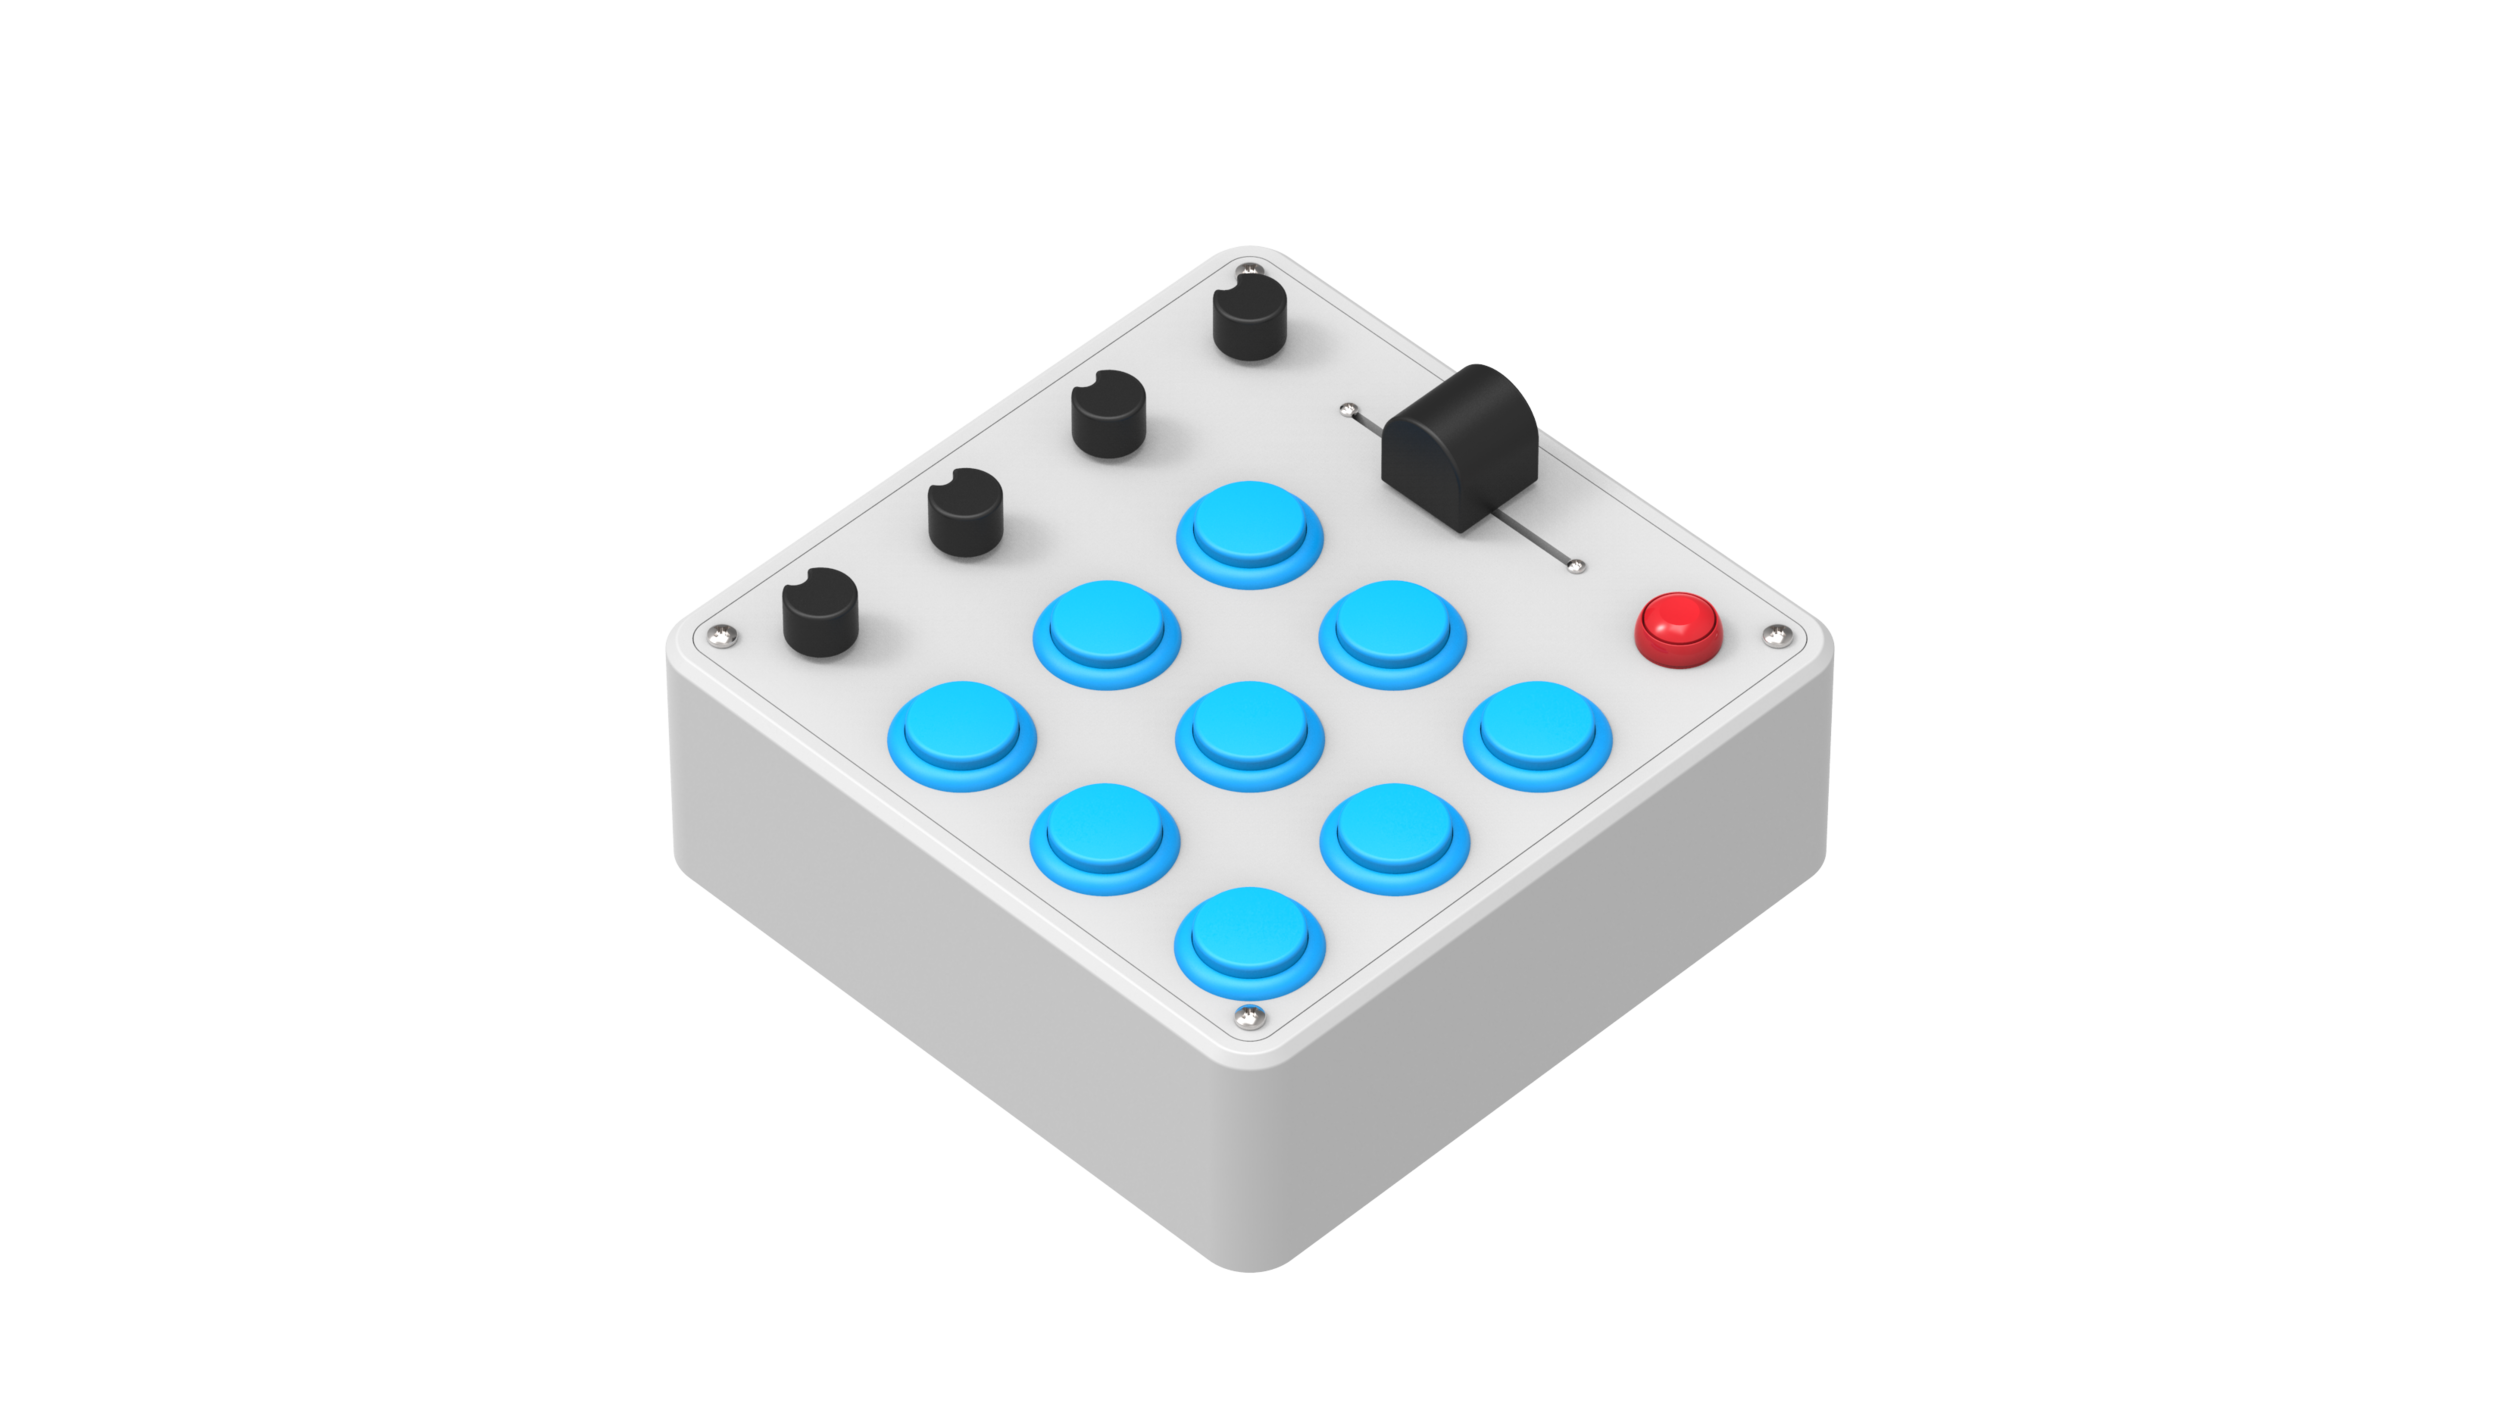
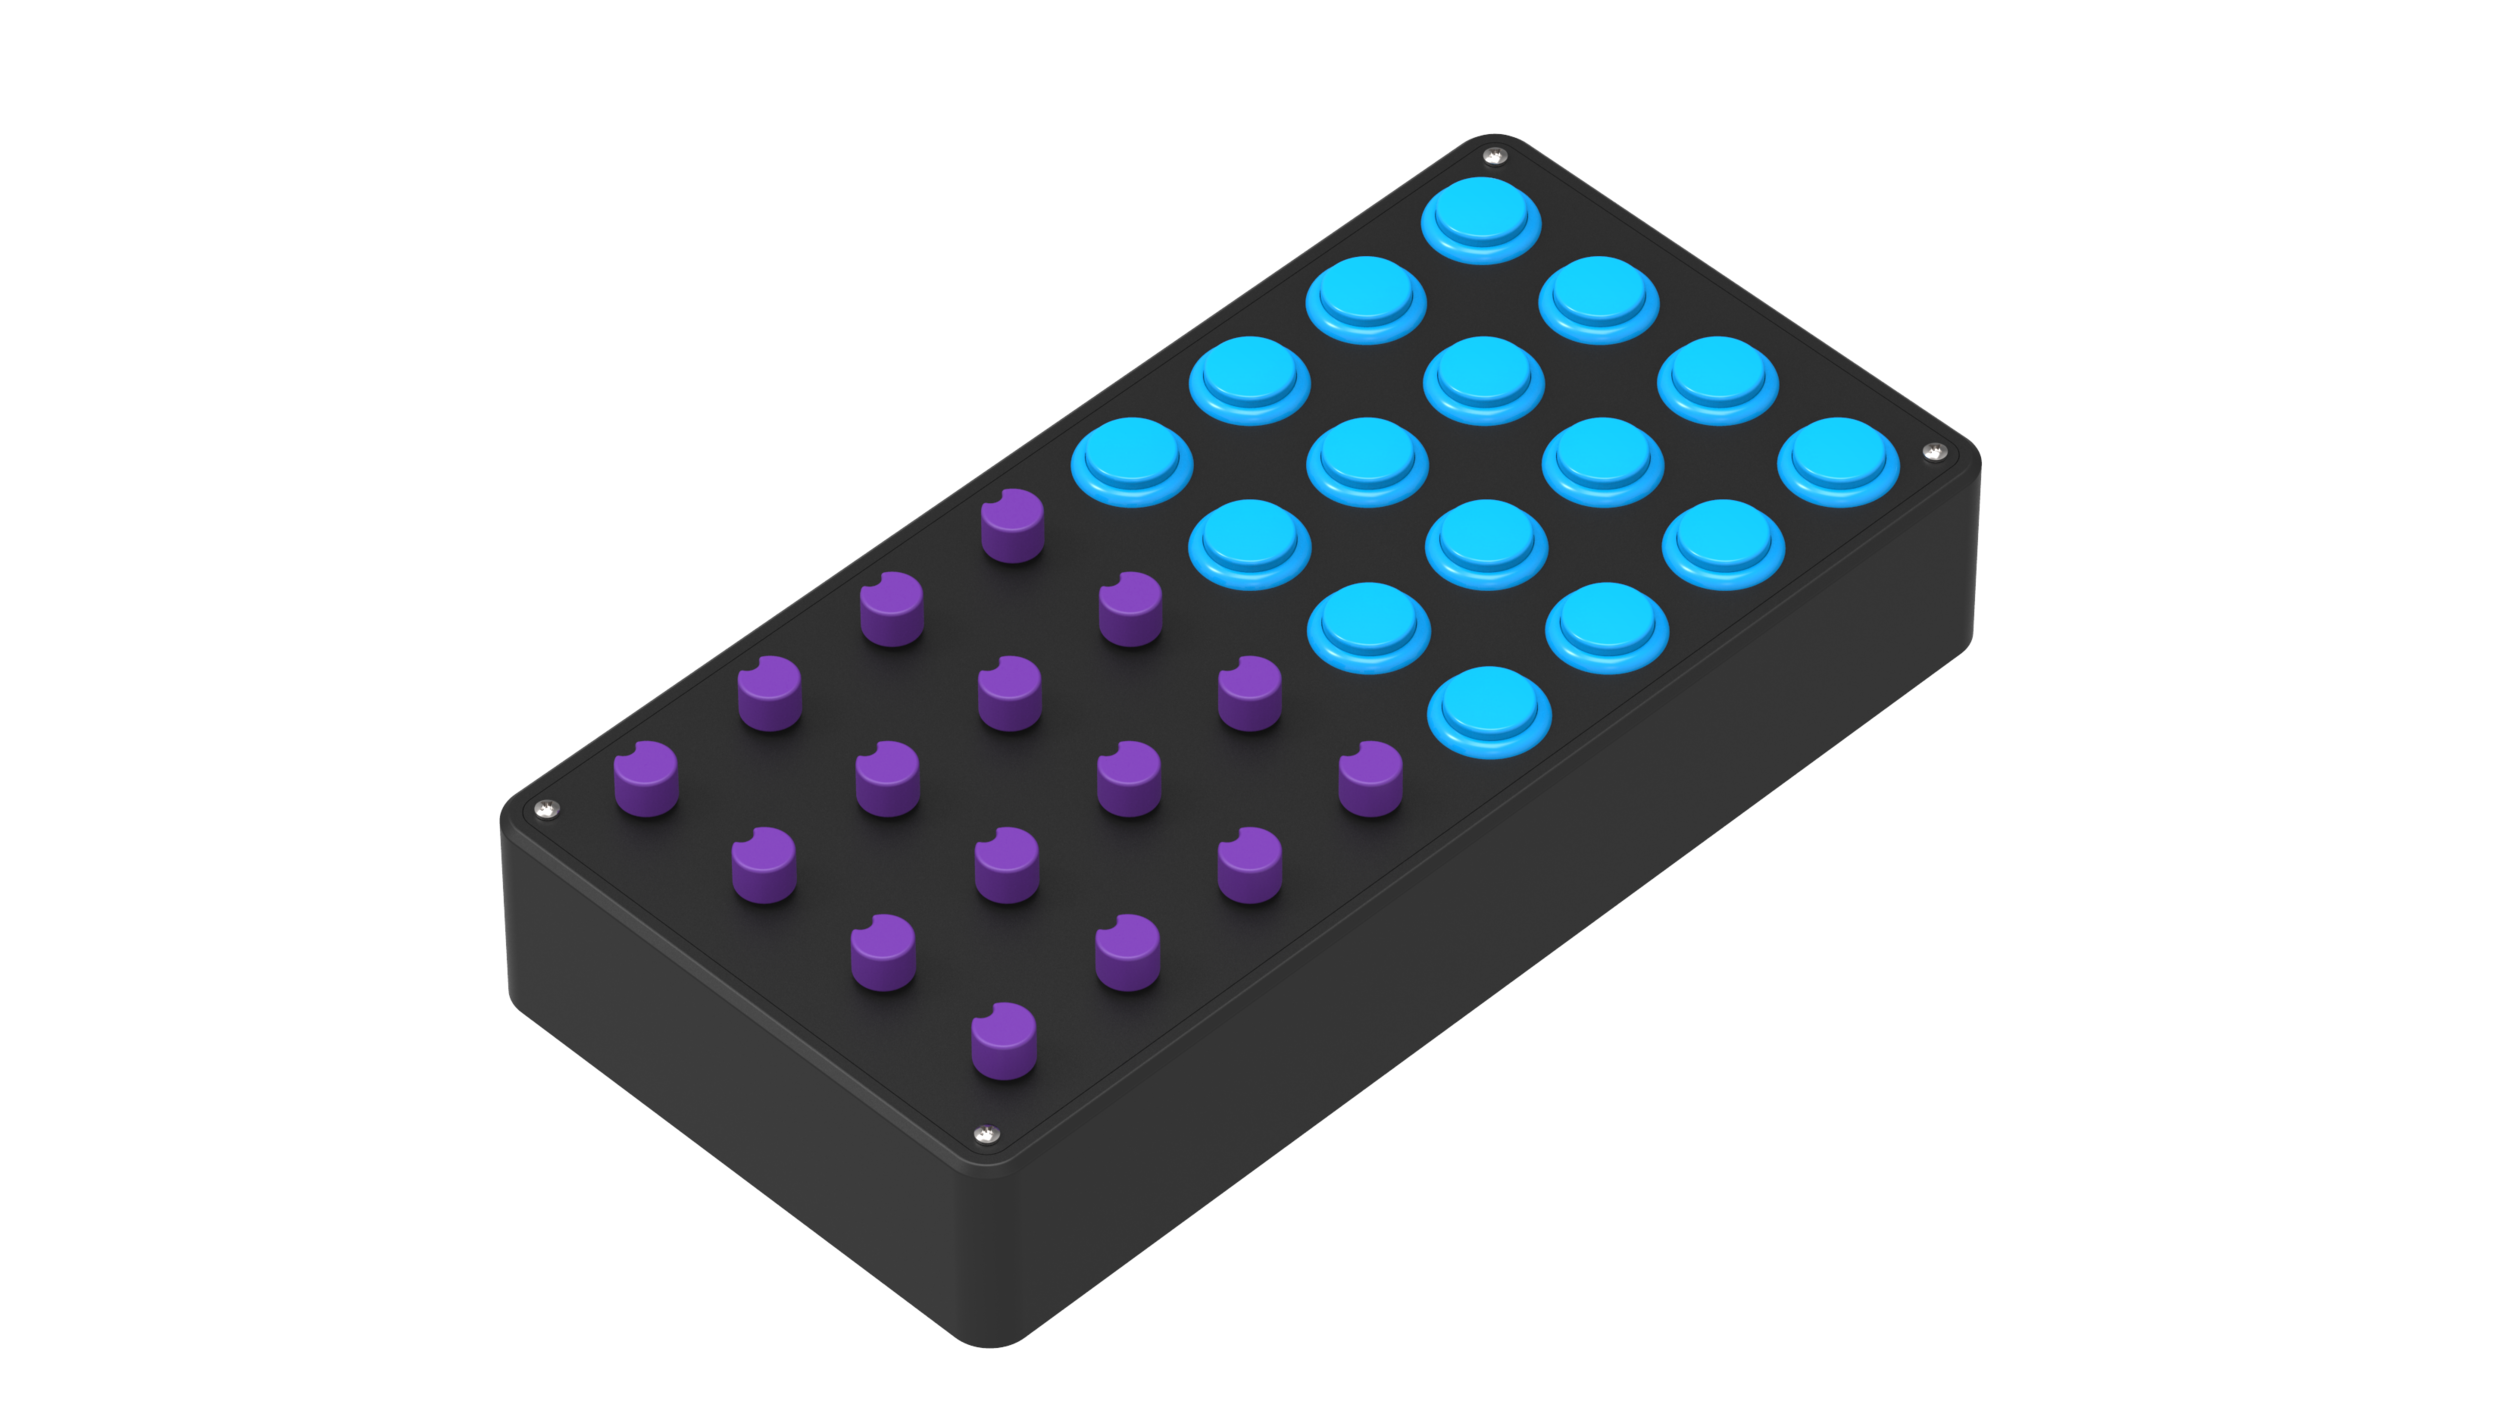
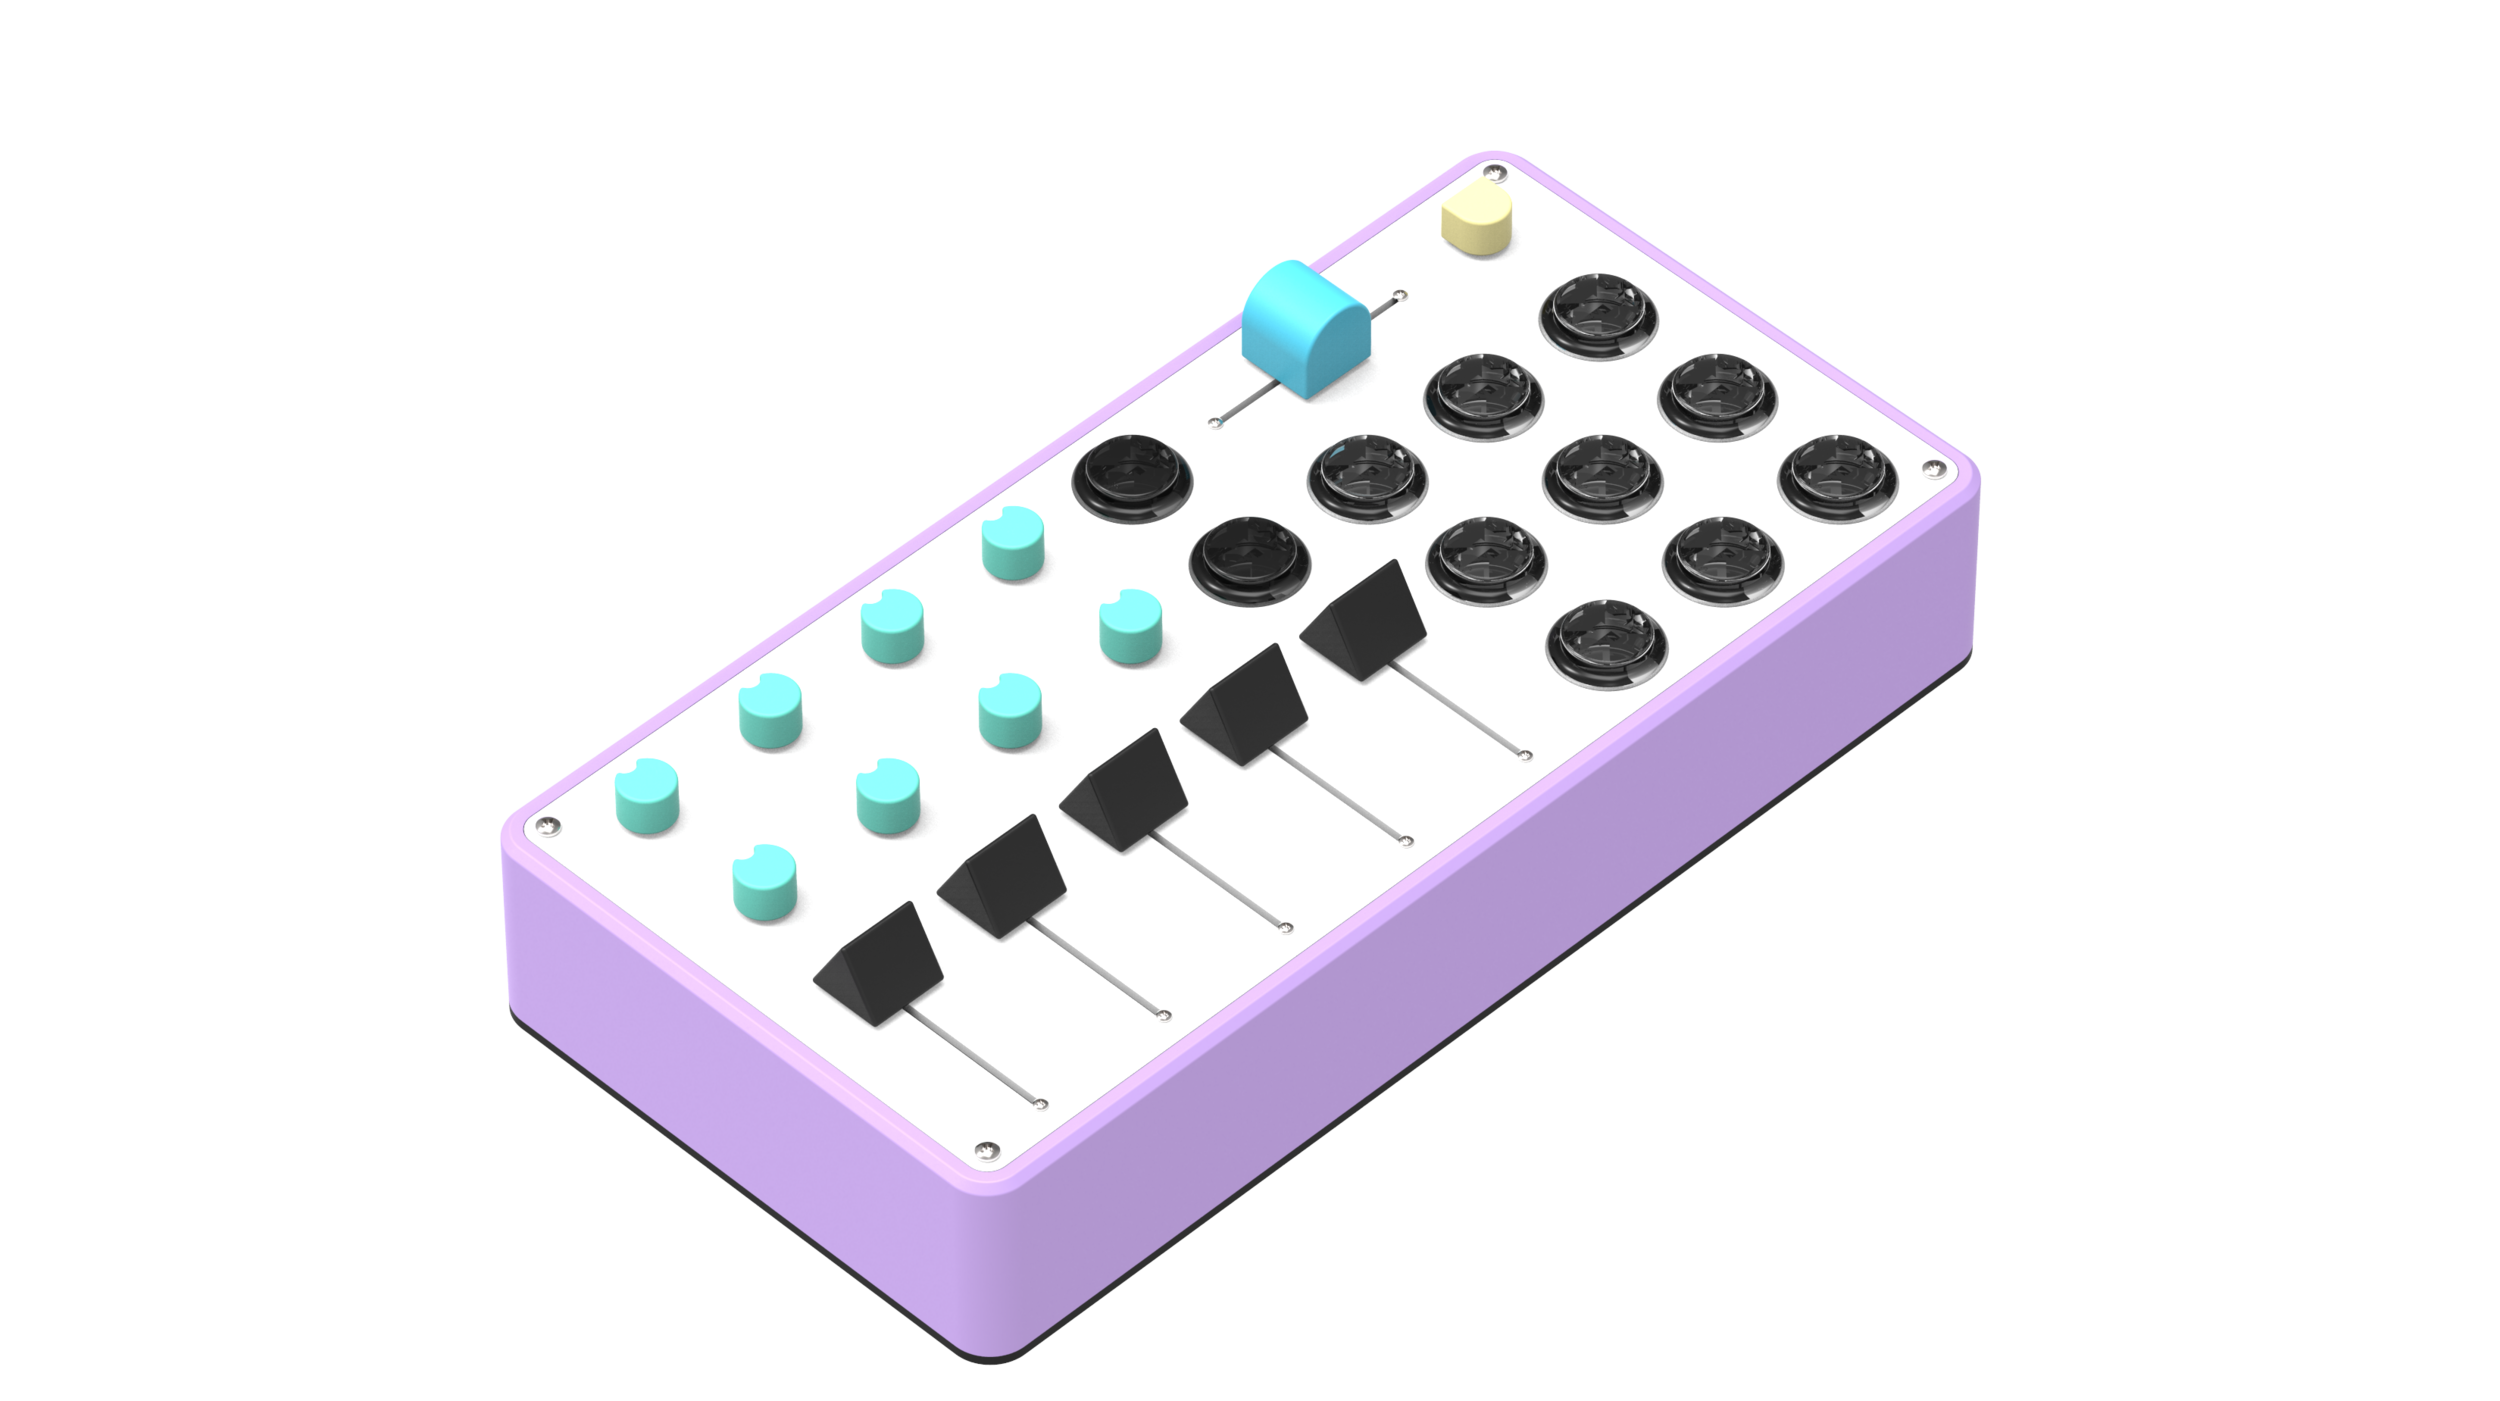
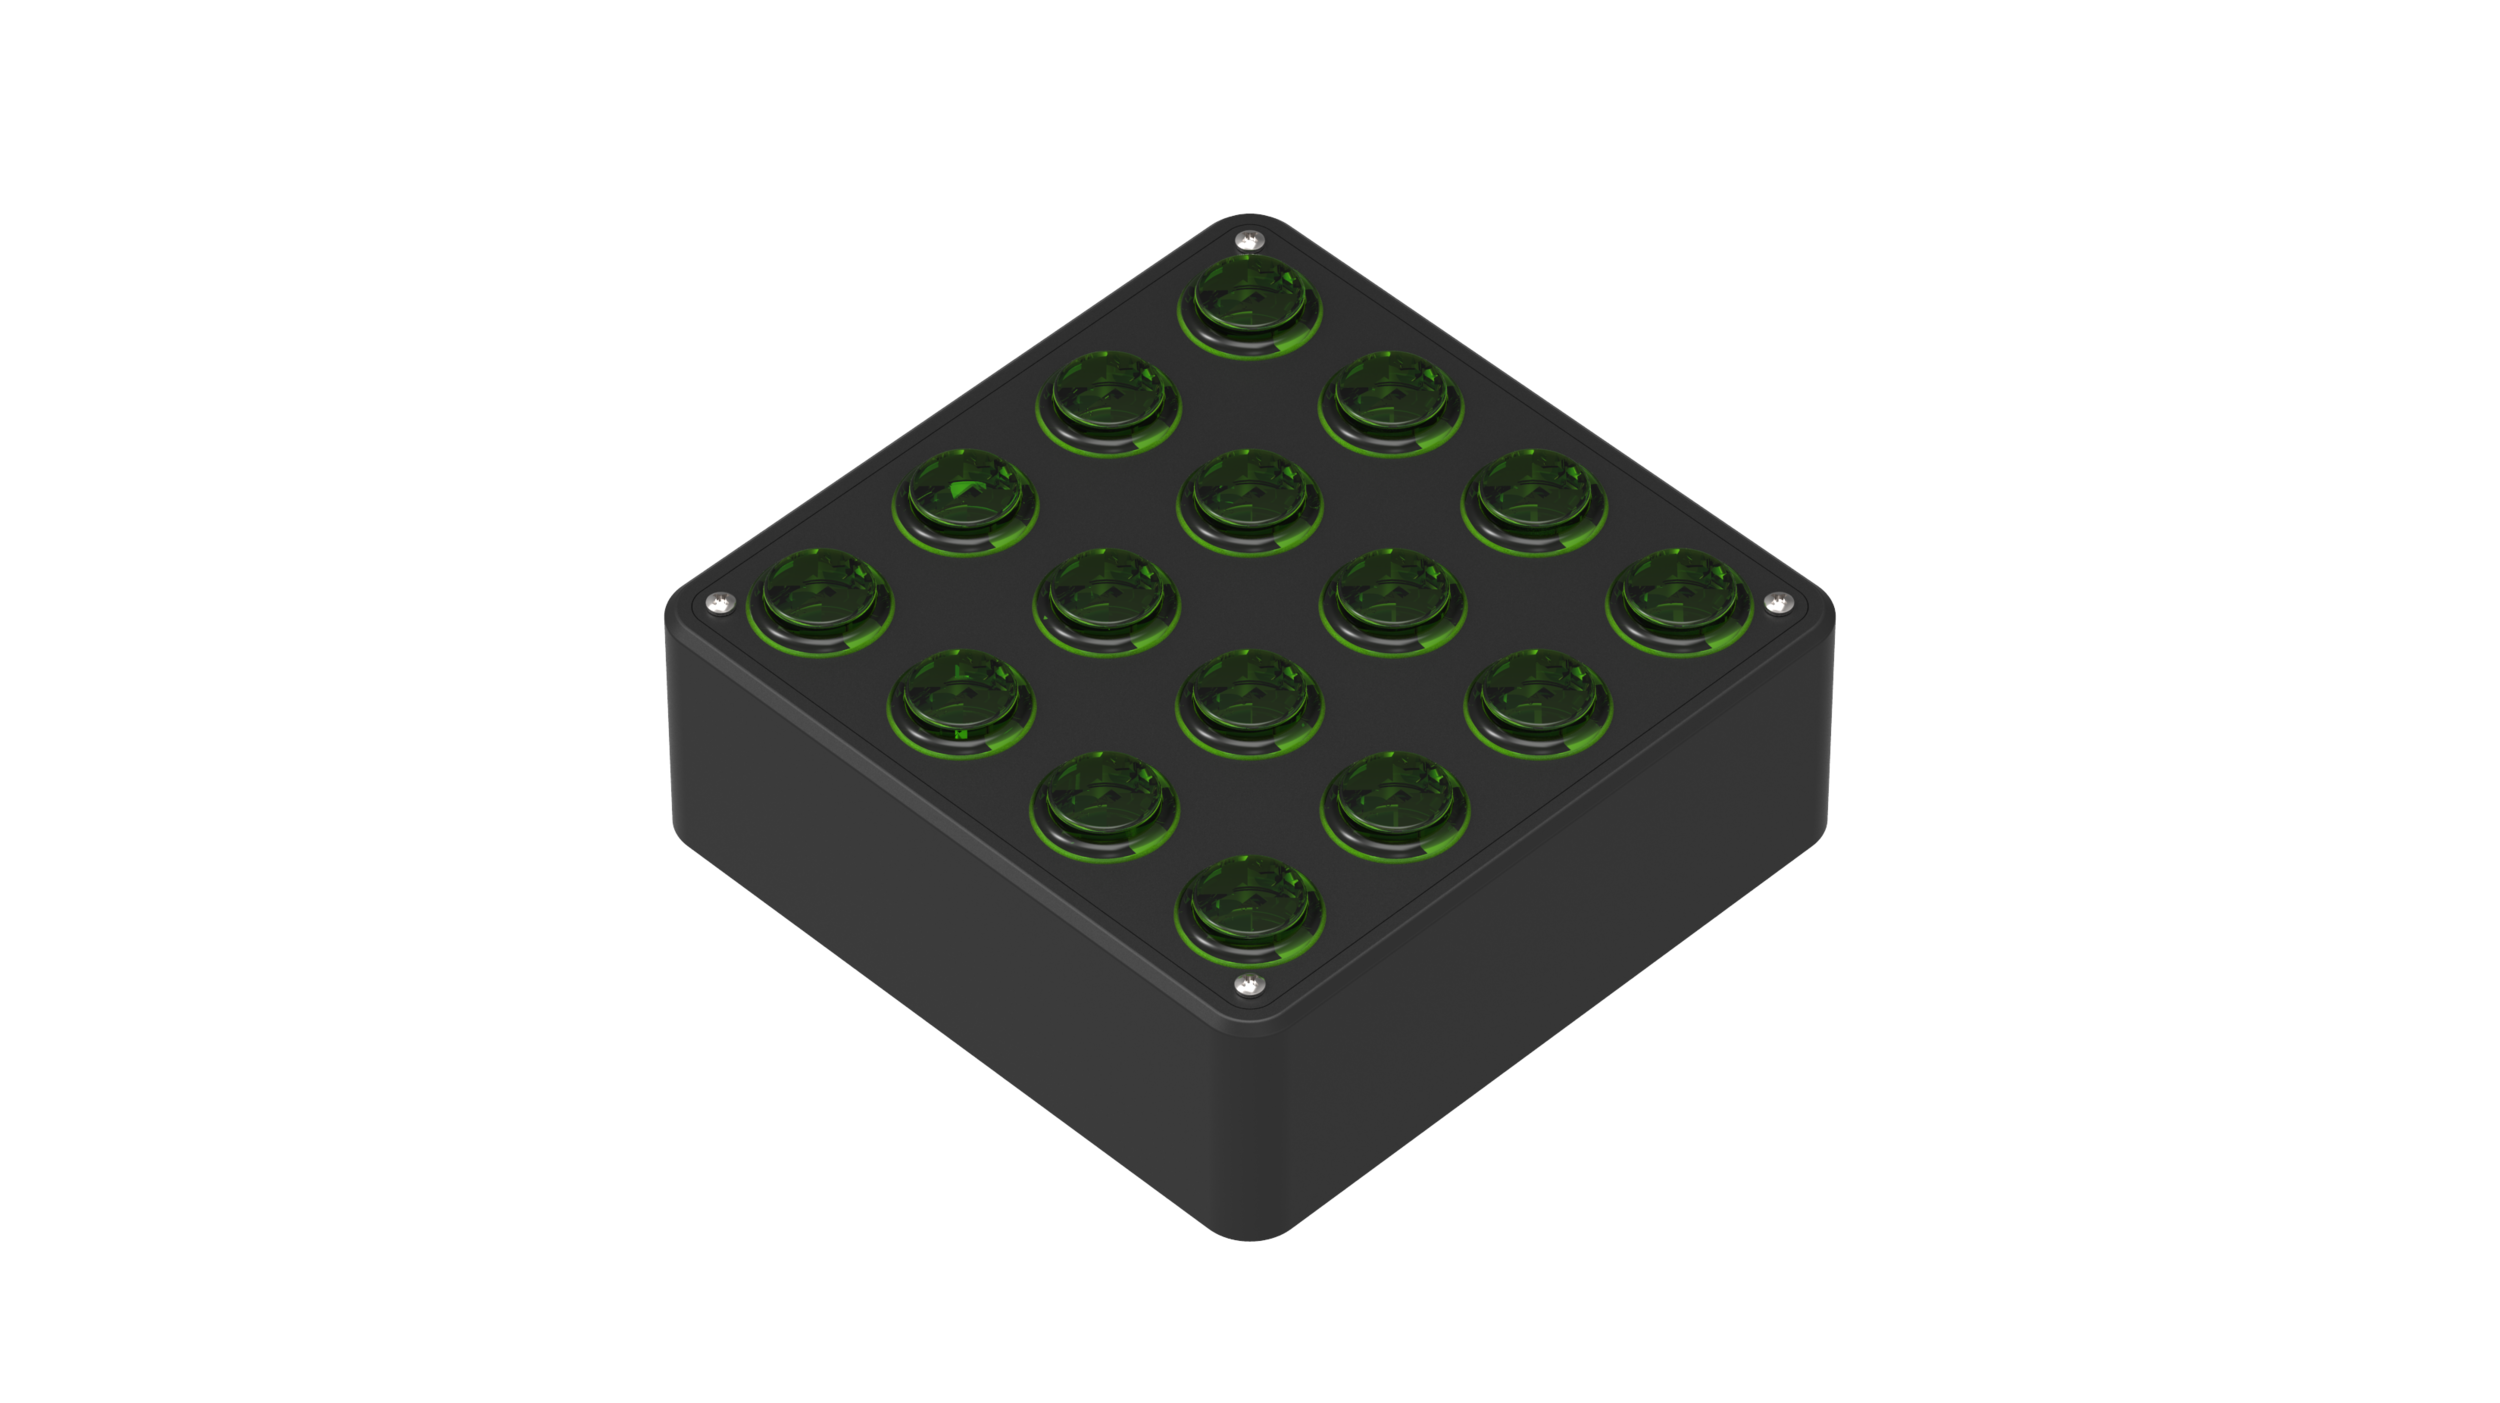
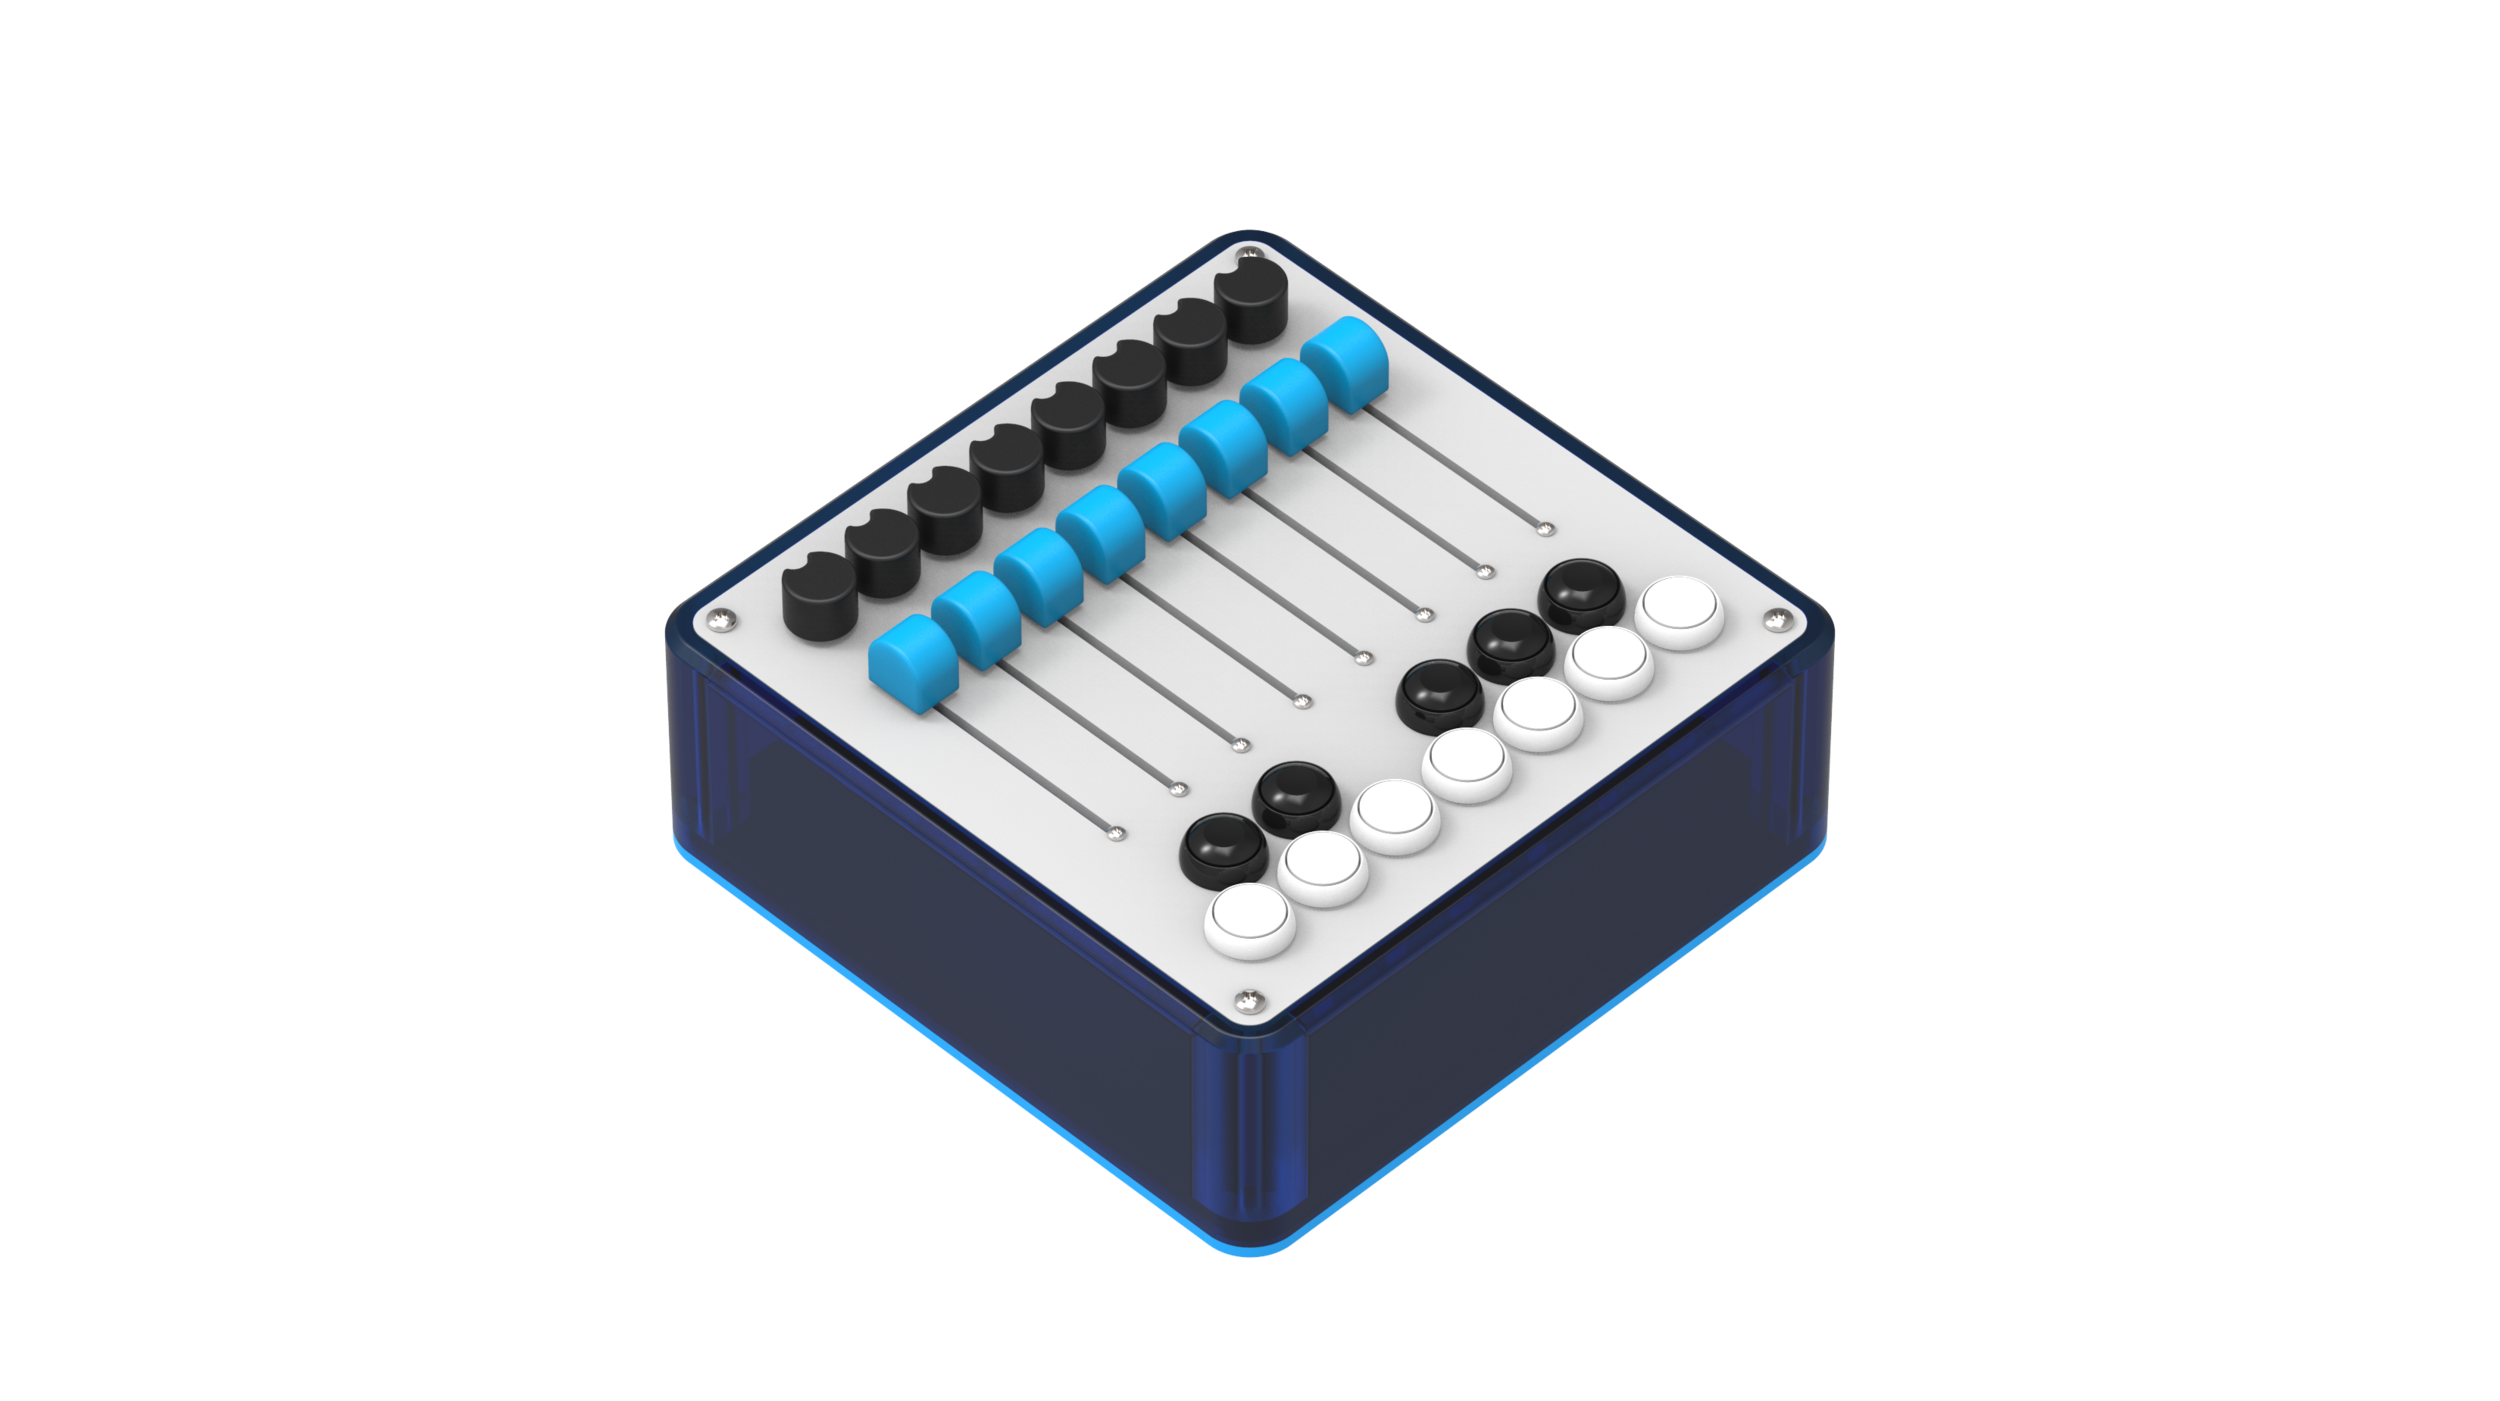
The Parallel Controller allows musicians and makers to design, build and play their own custom MIDI controllers for producing and performing electronic music.
Design your controller
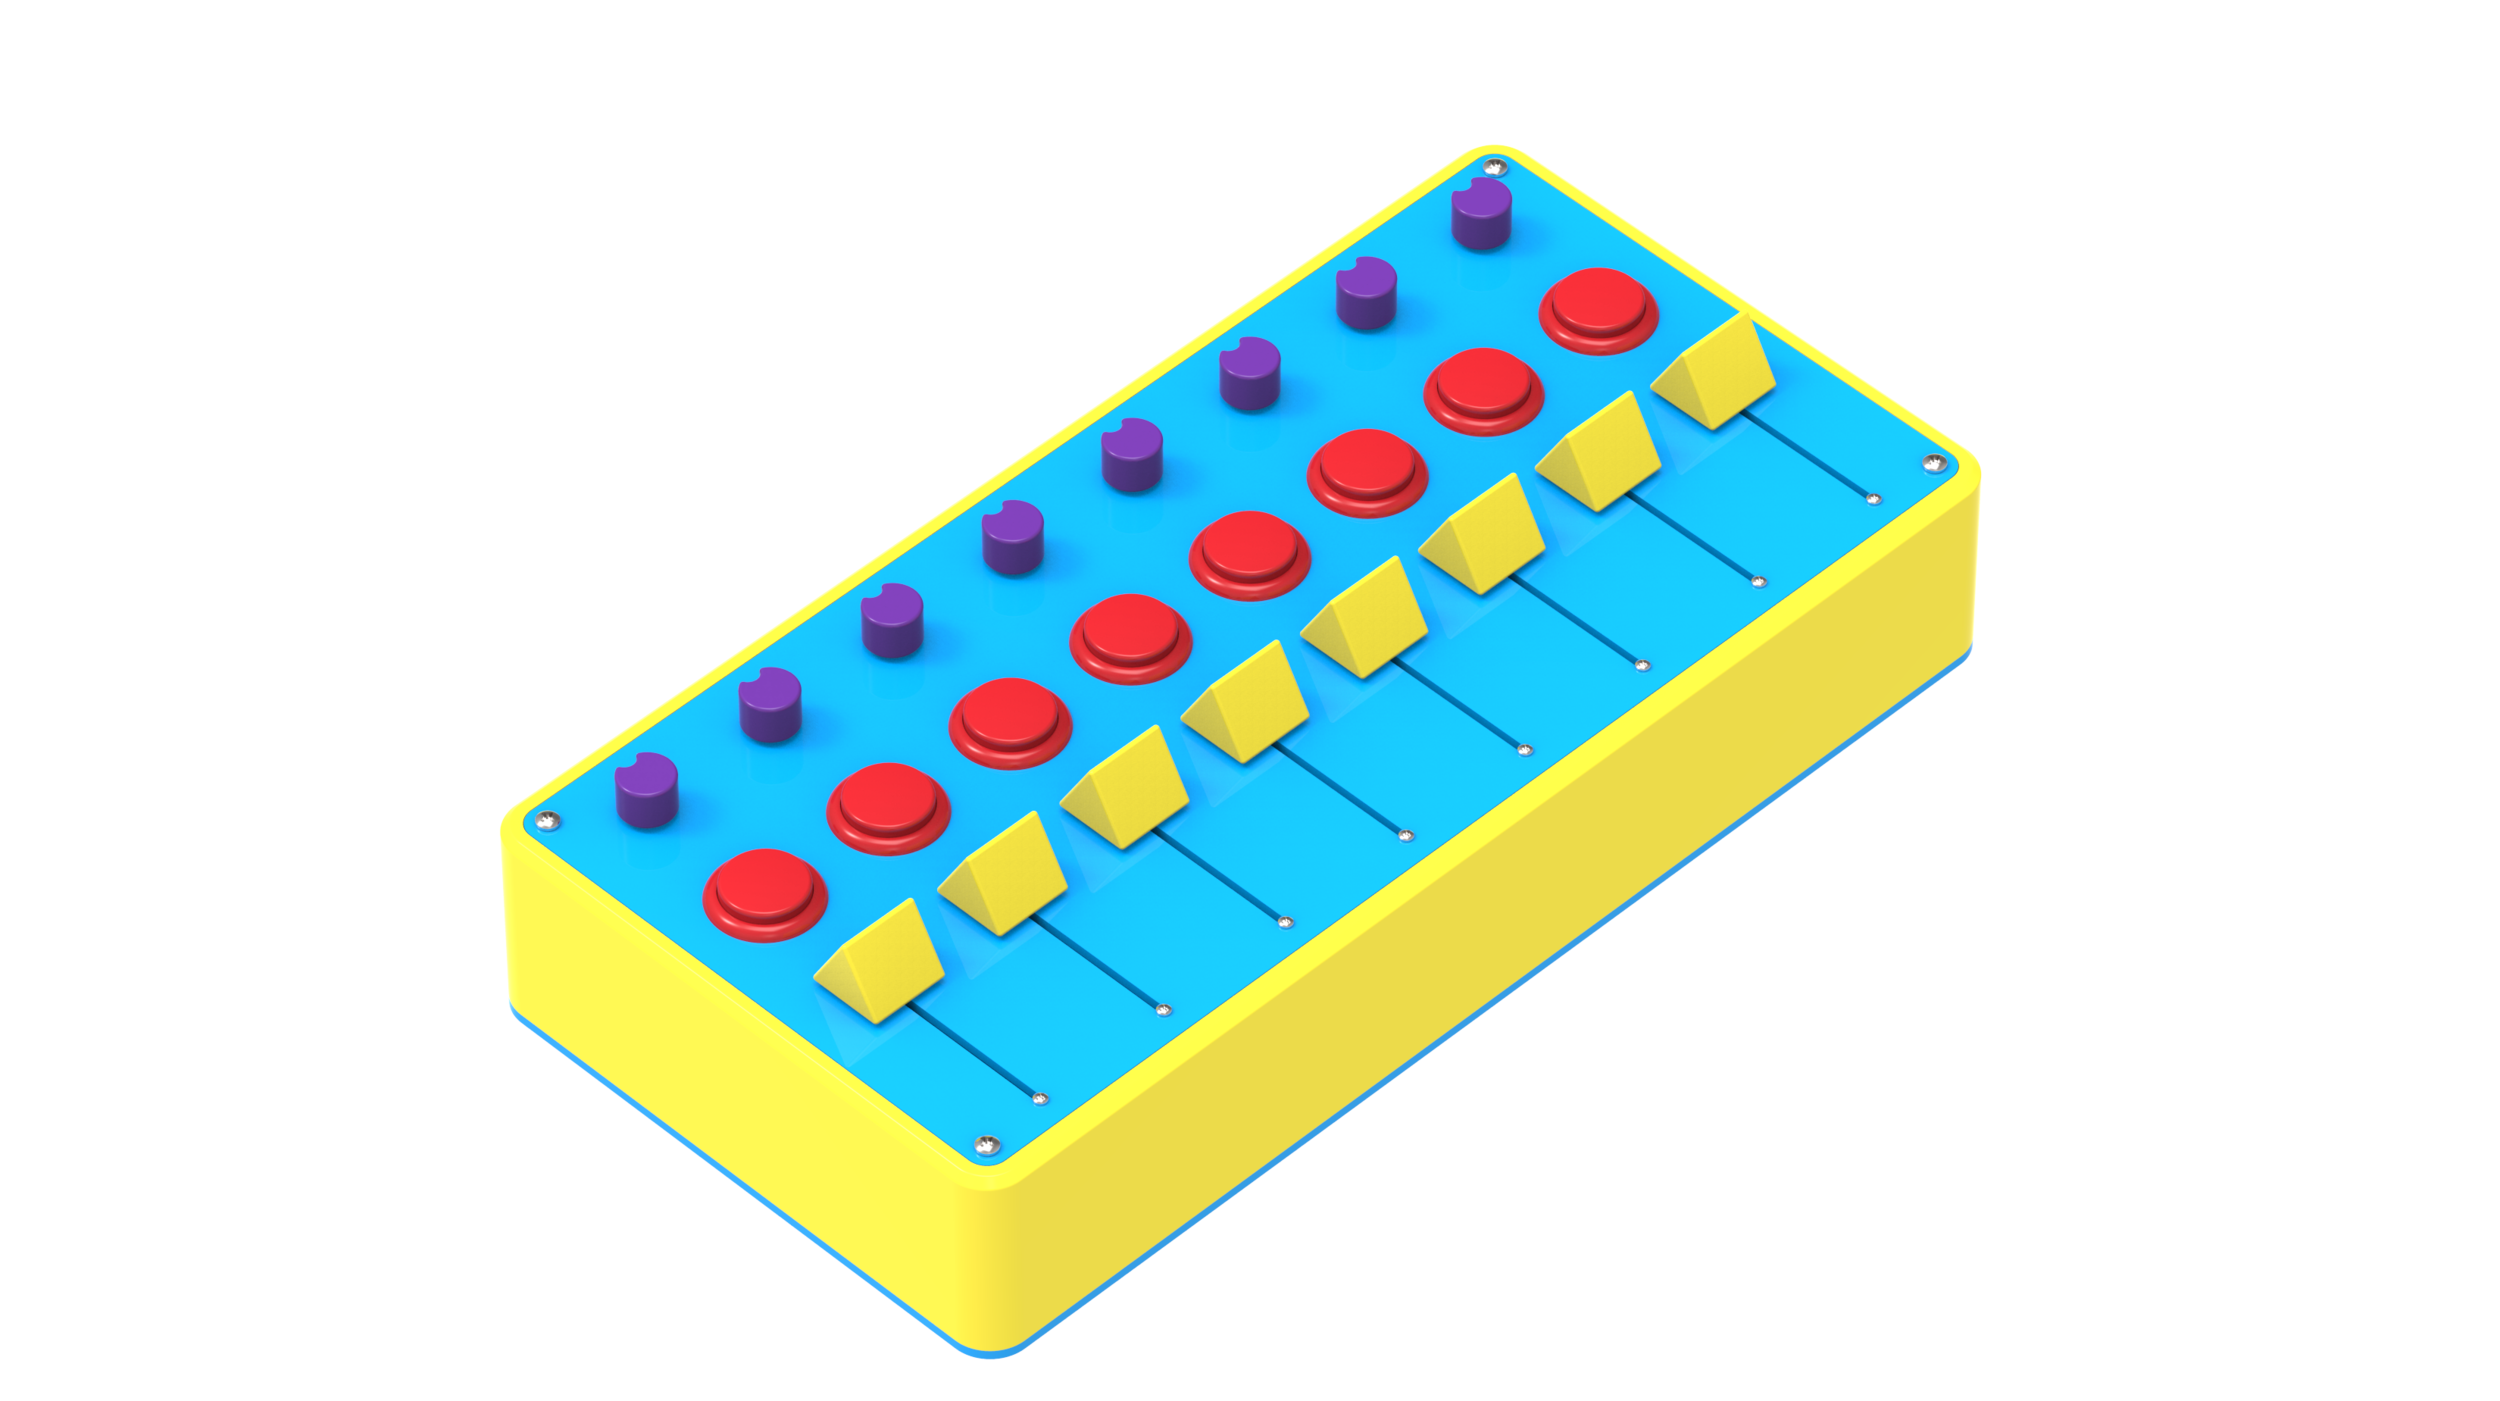
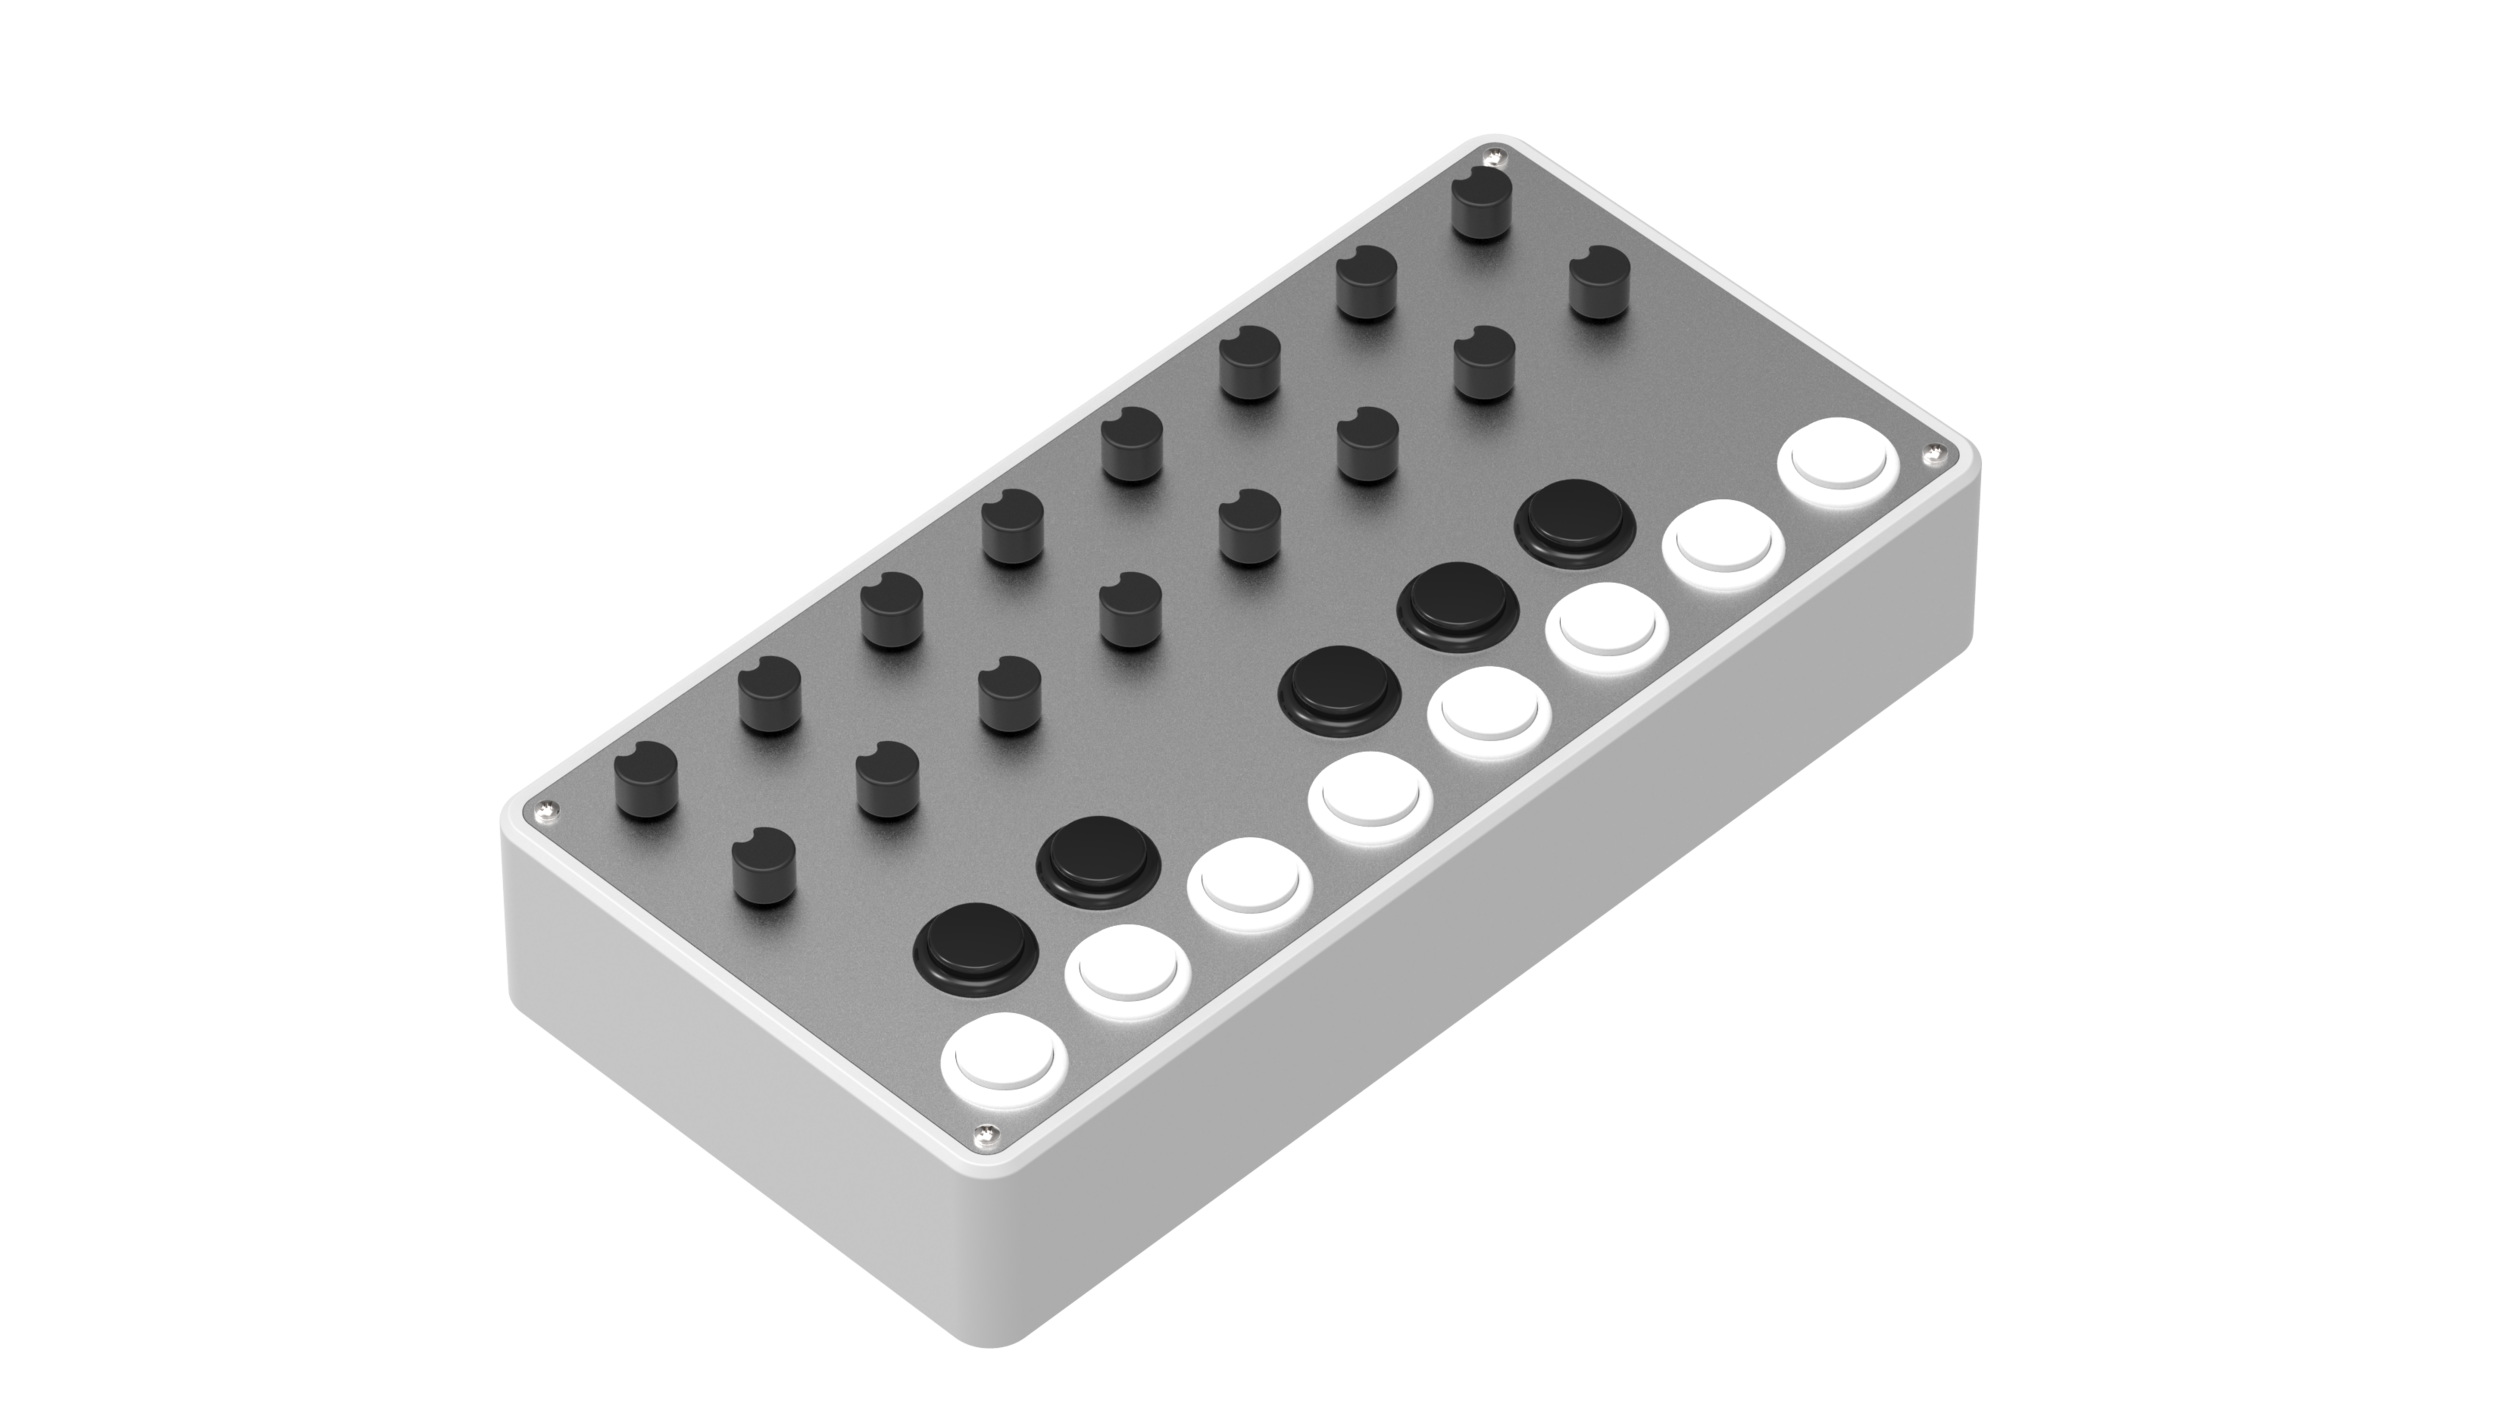
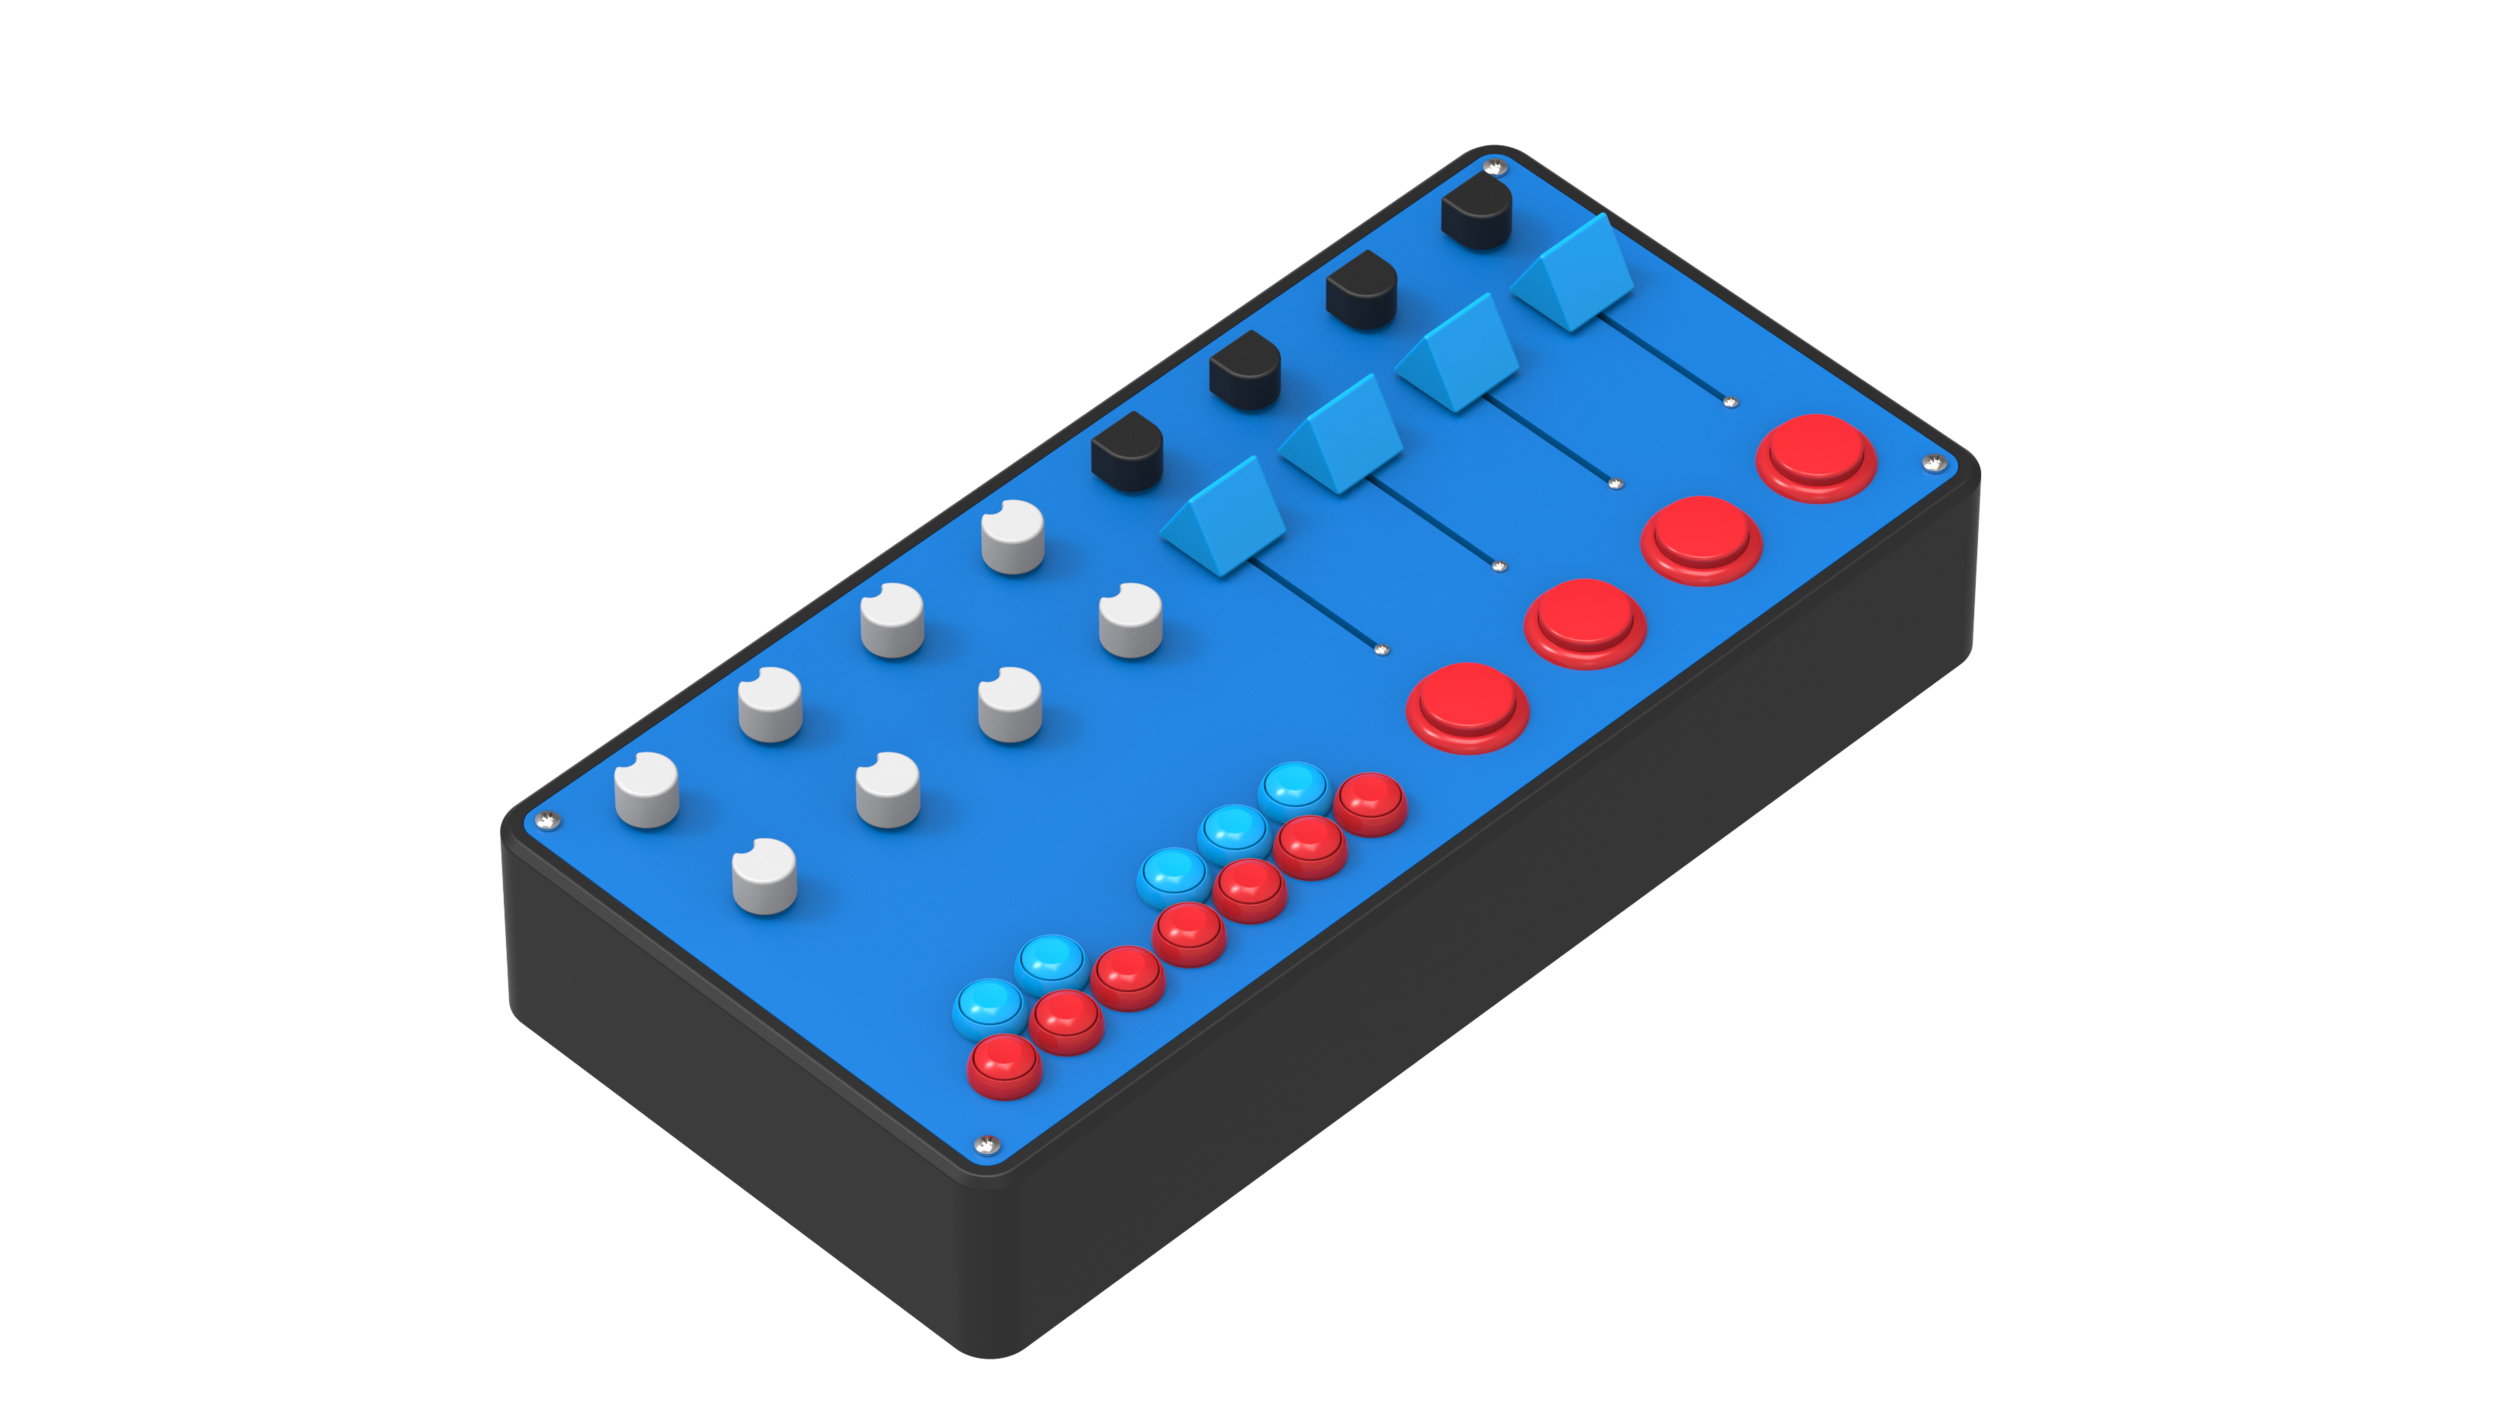
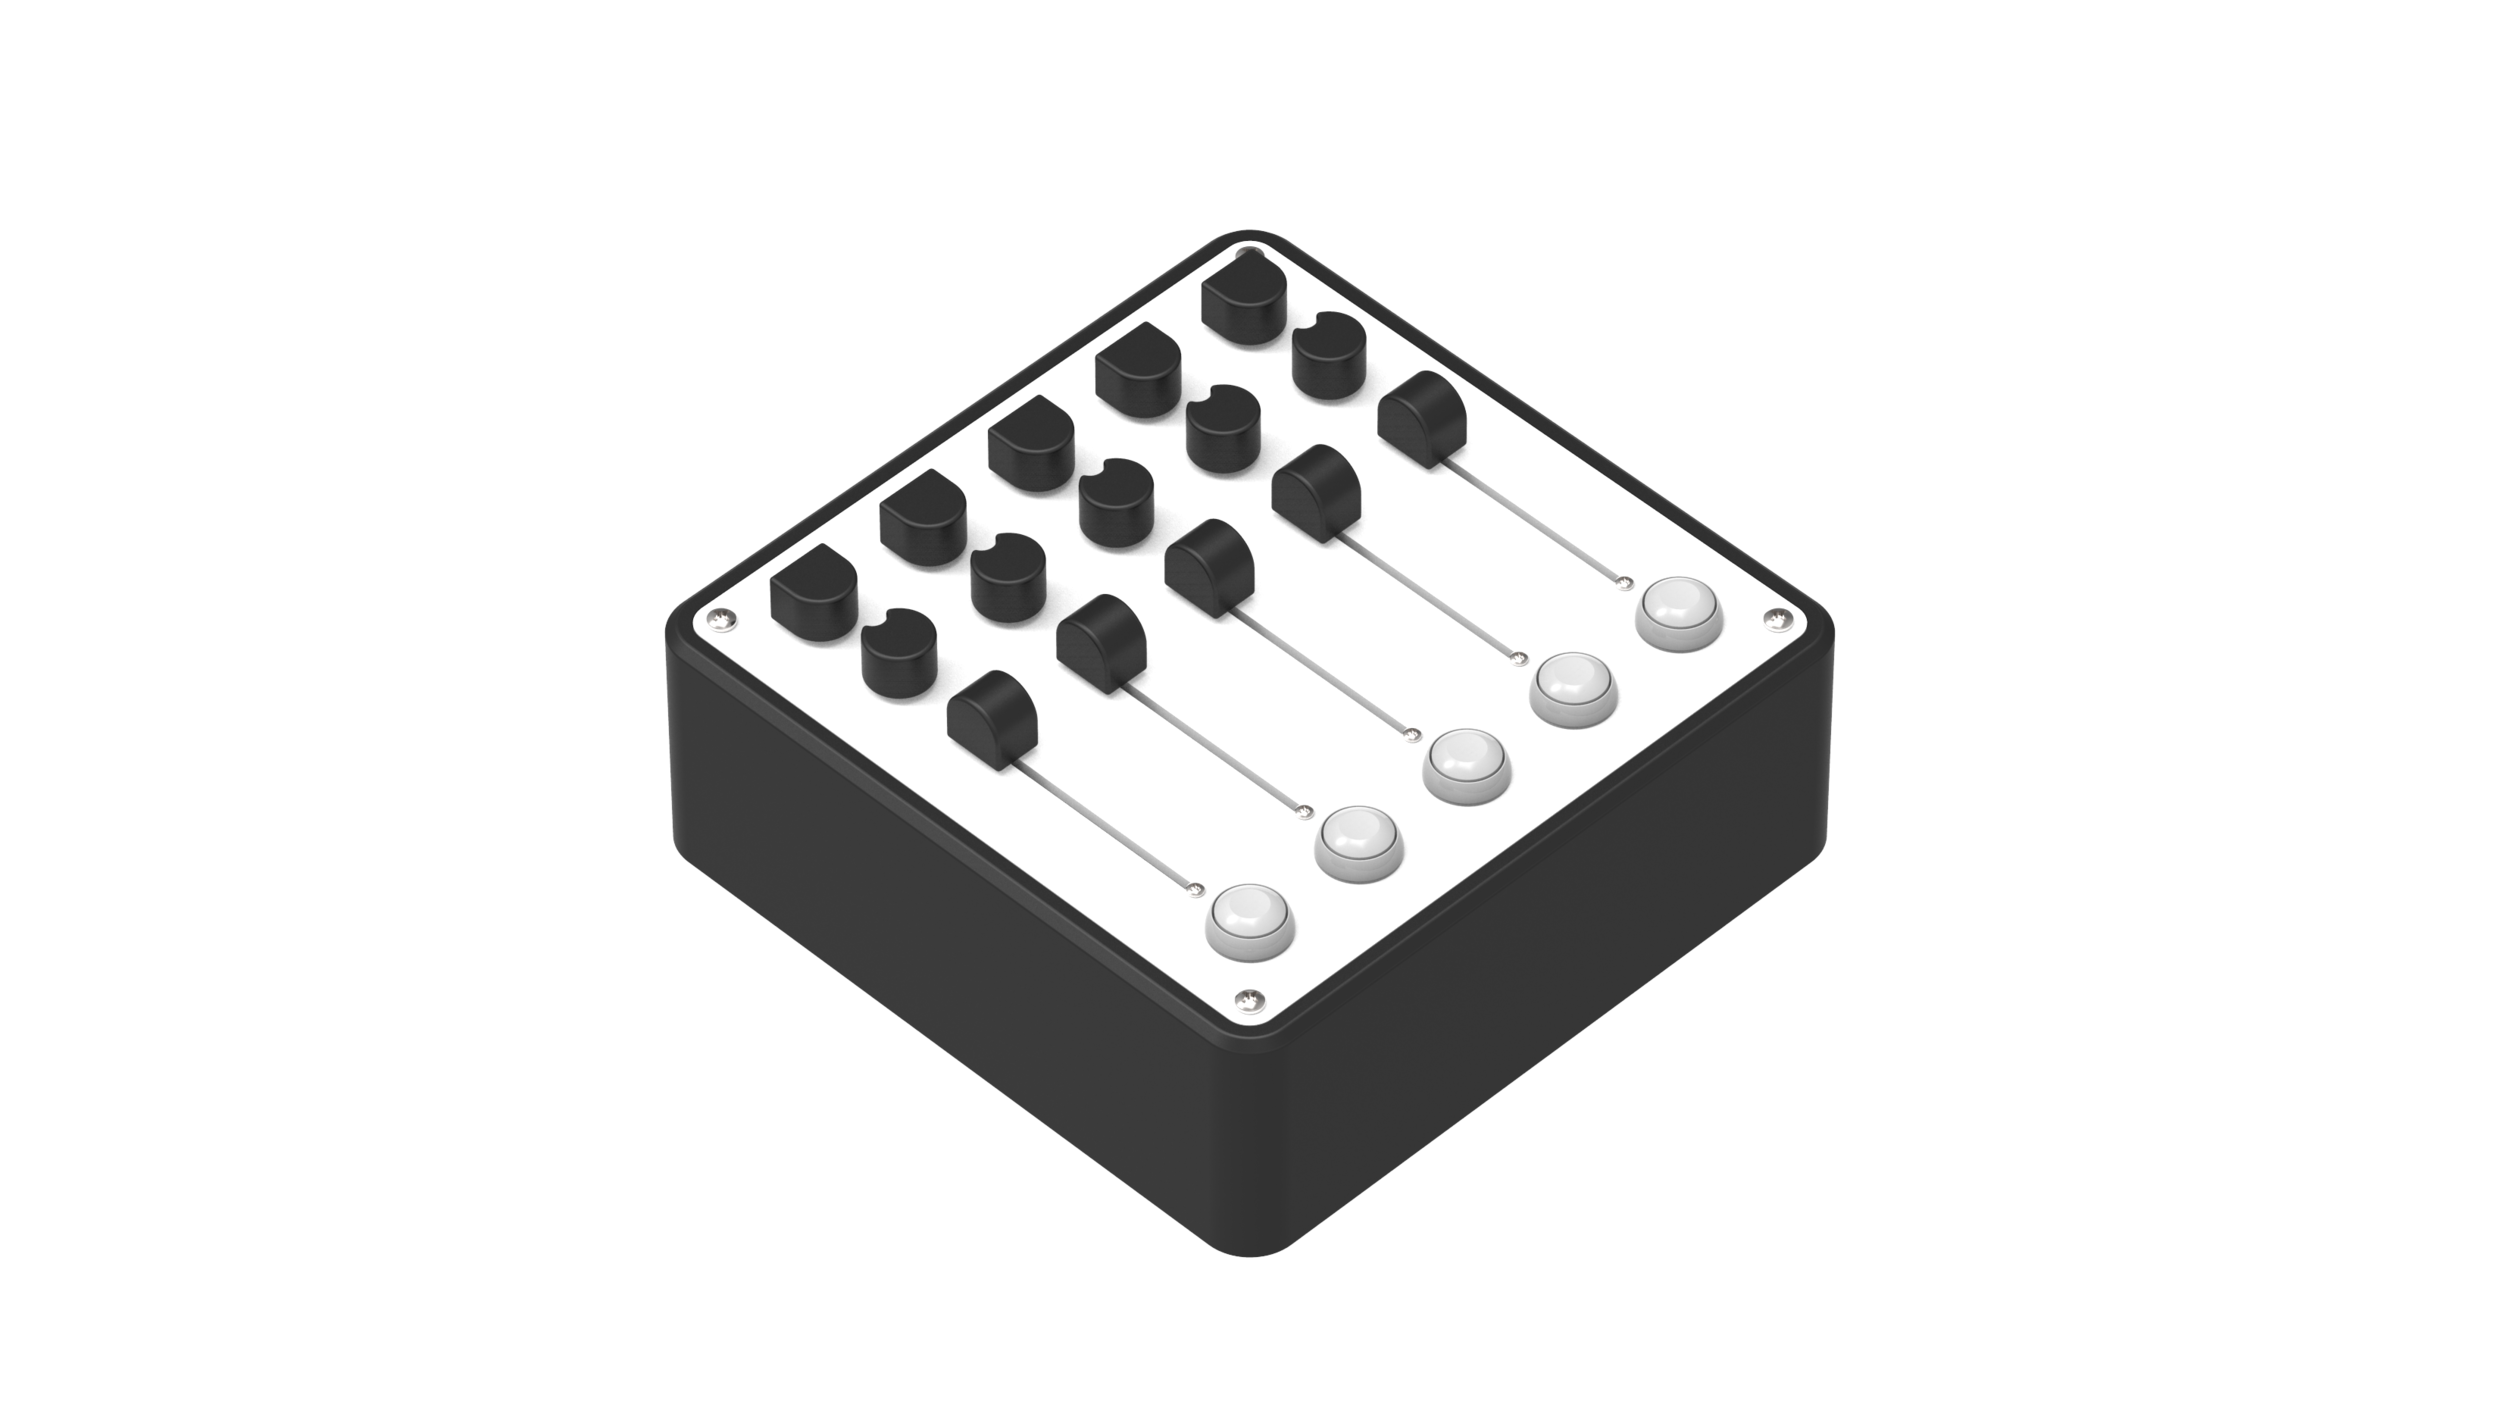
Design your controller on the Parallel website or with the mobile application. Simply select the size of your controller and start dragging and dropping the components where you want them. Save your design and purchase your complete kit in a few clicks.


Build your controller.
Your controller is then shipped to you as a complete kit. Your controller can be assembled with a few simple tools, without soldering, in as little as fifteen minutes.
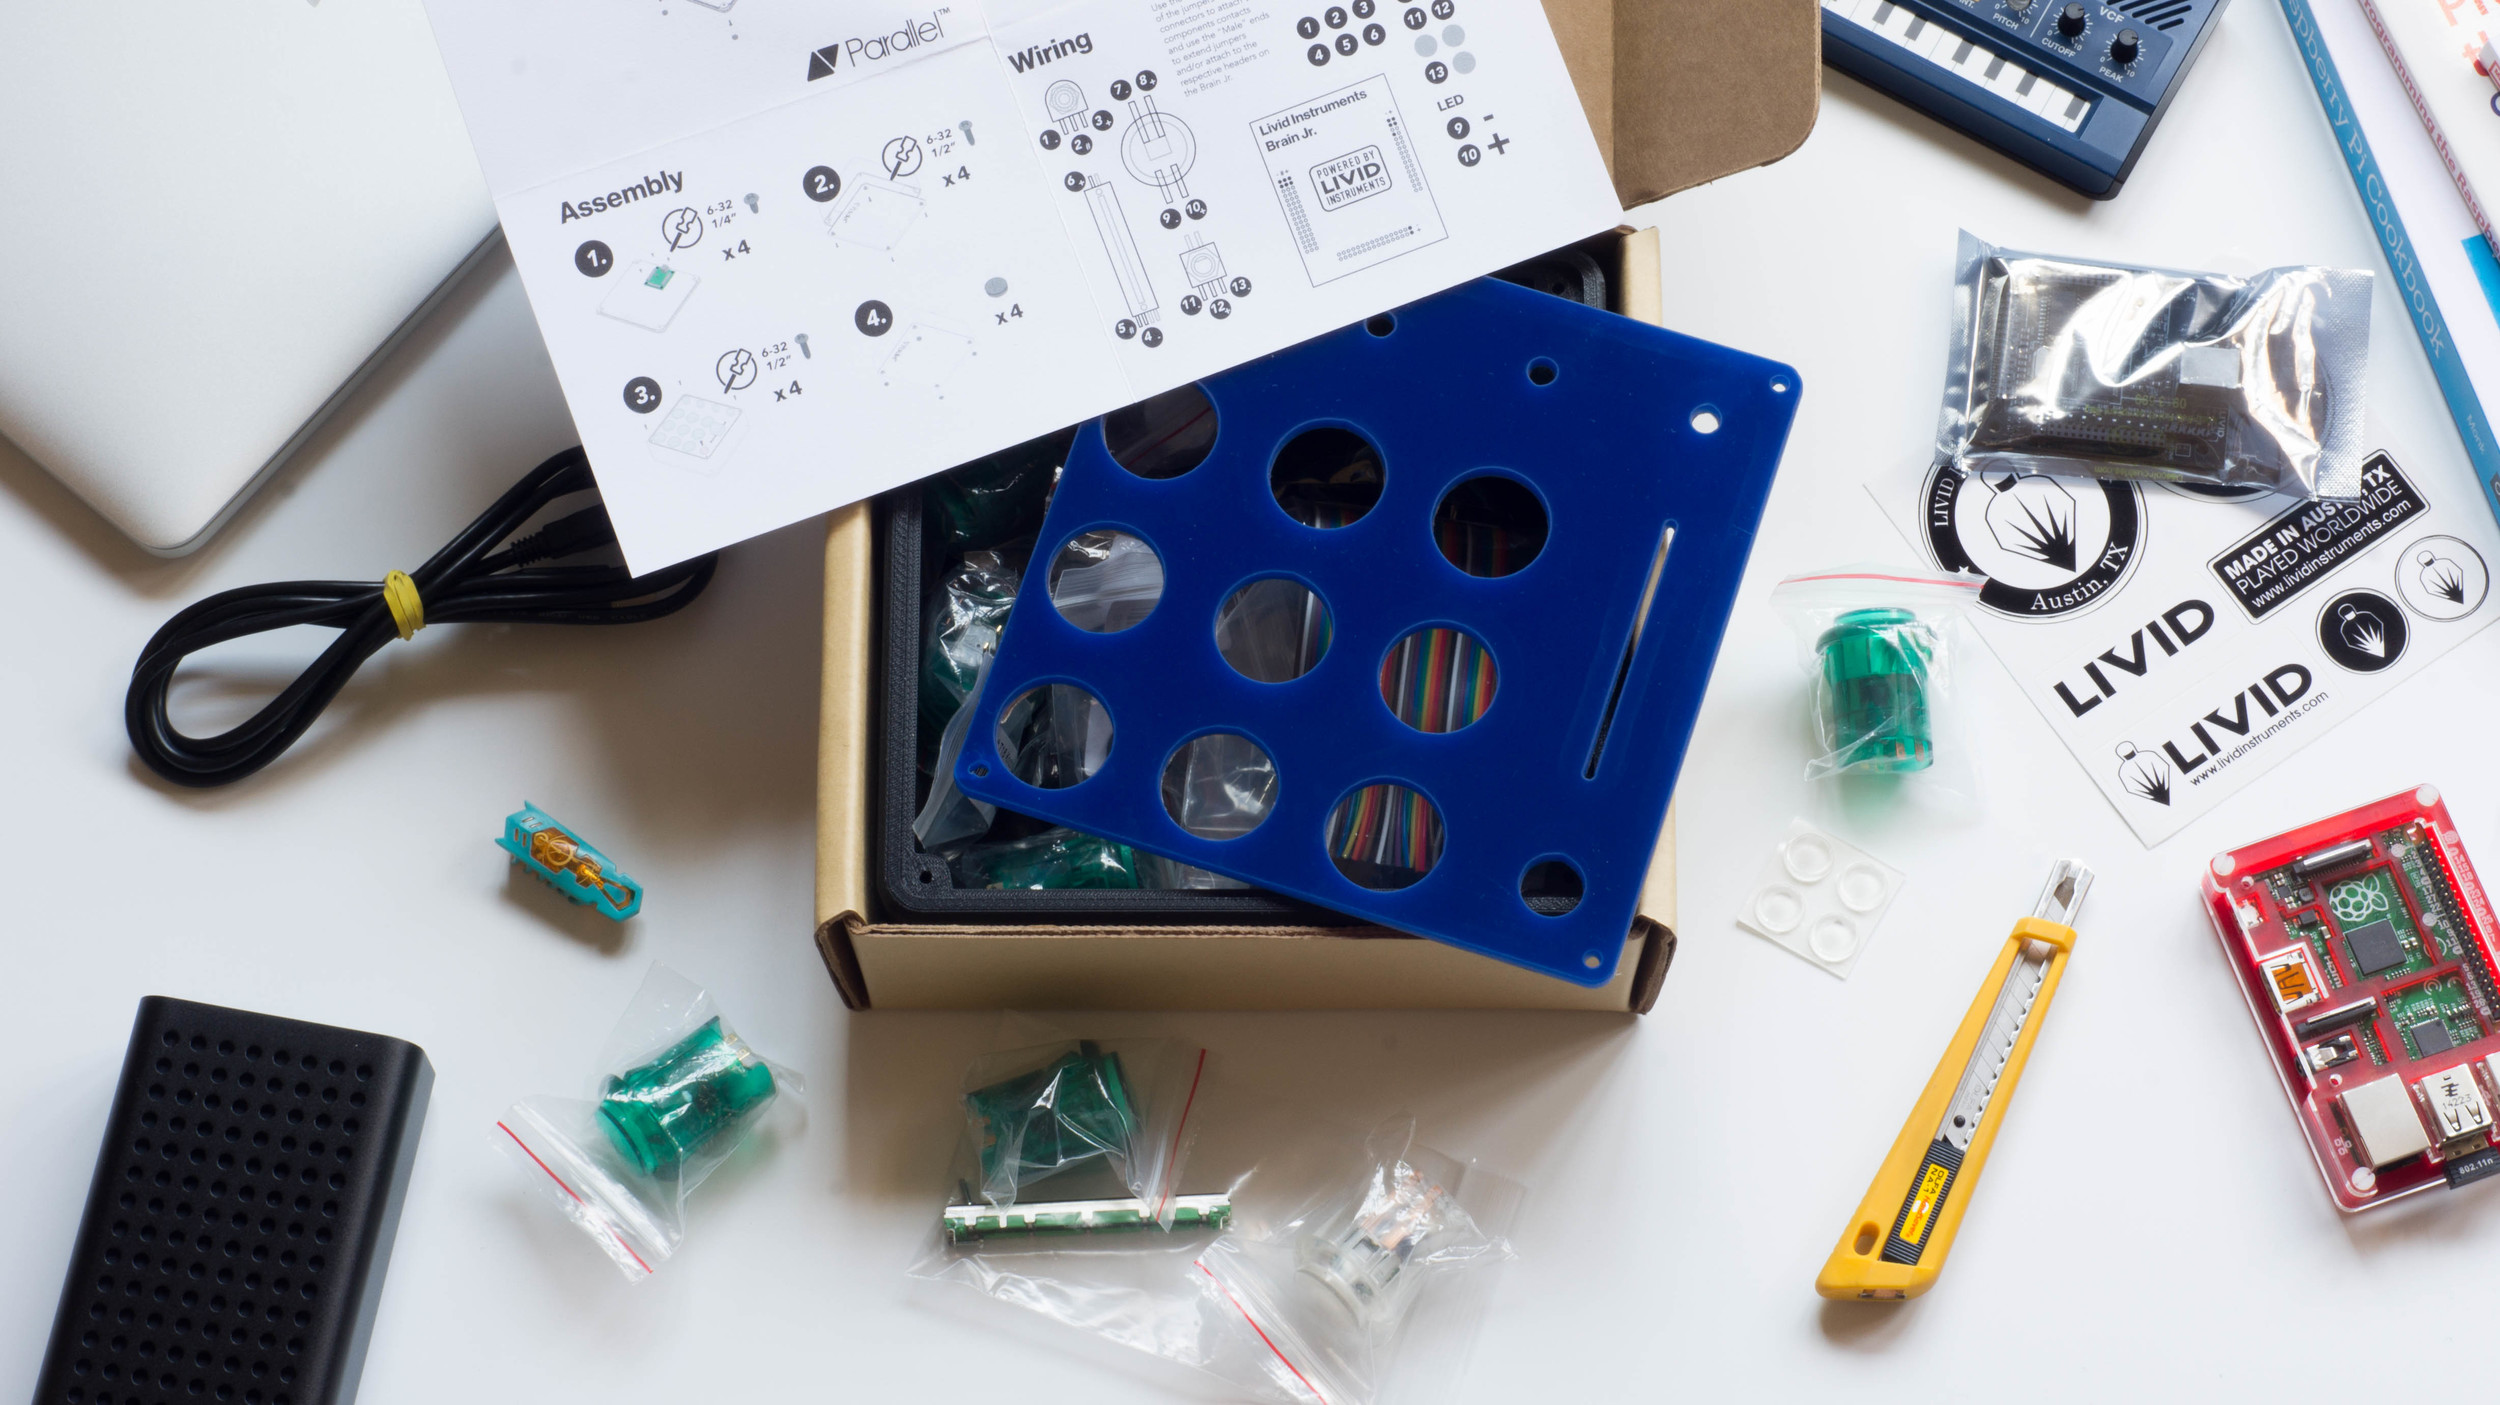
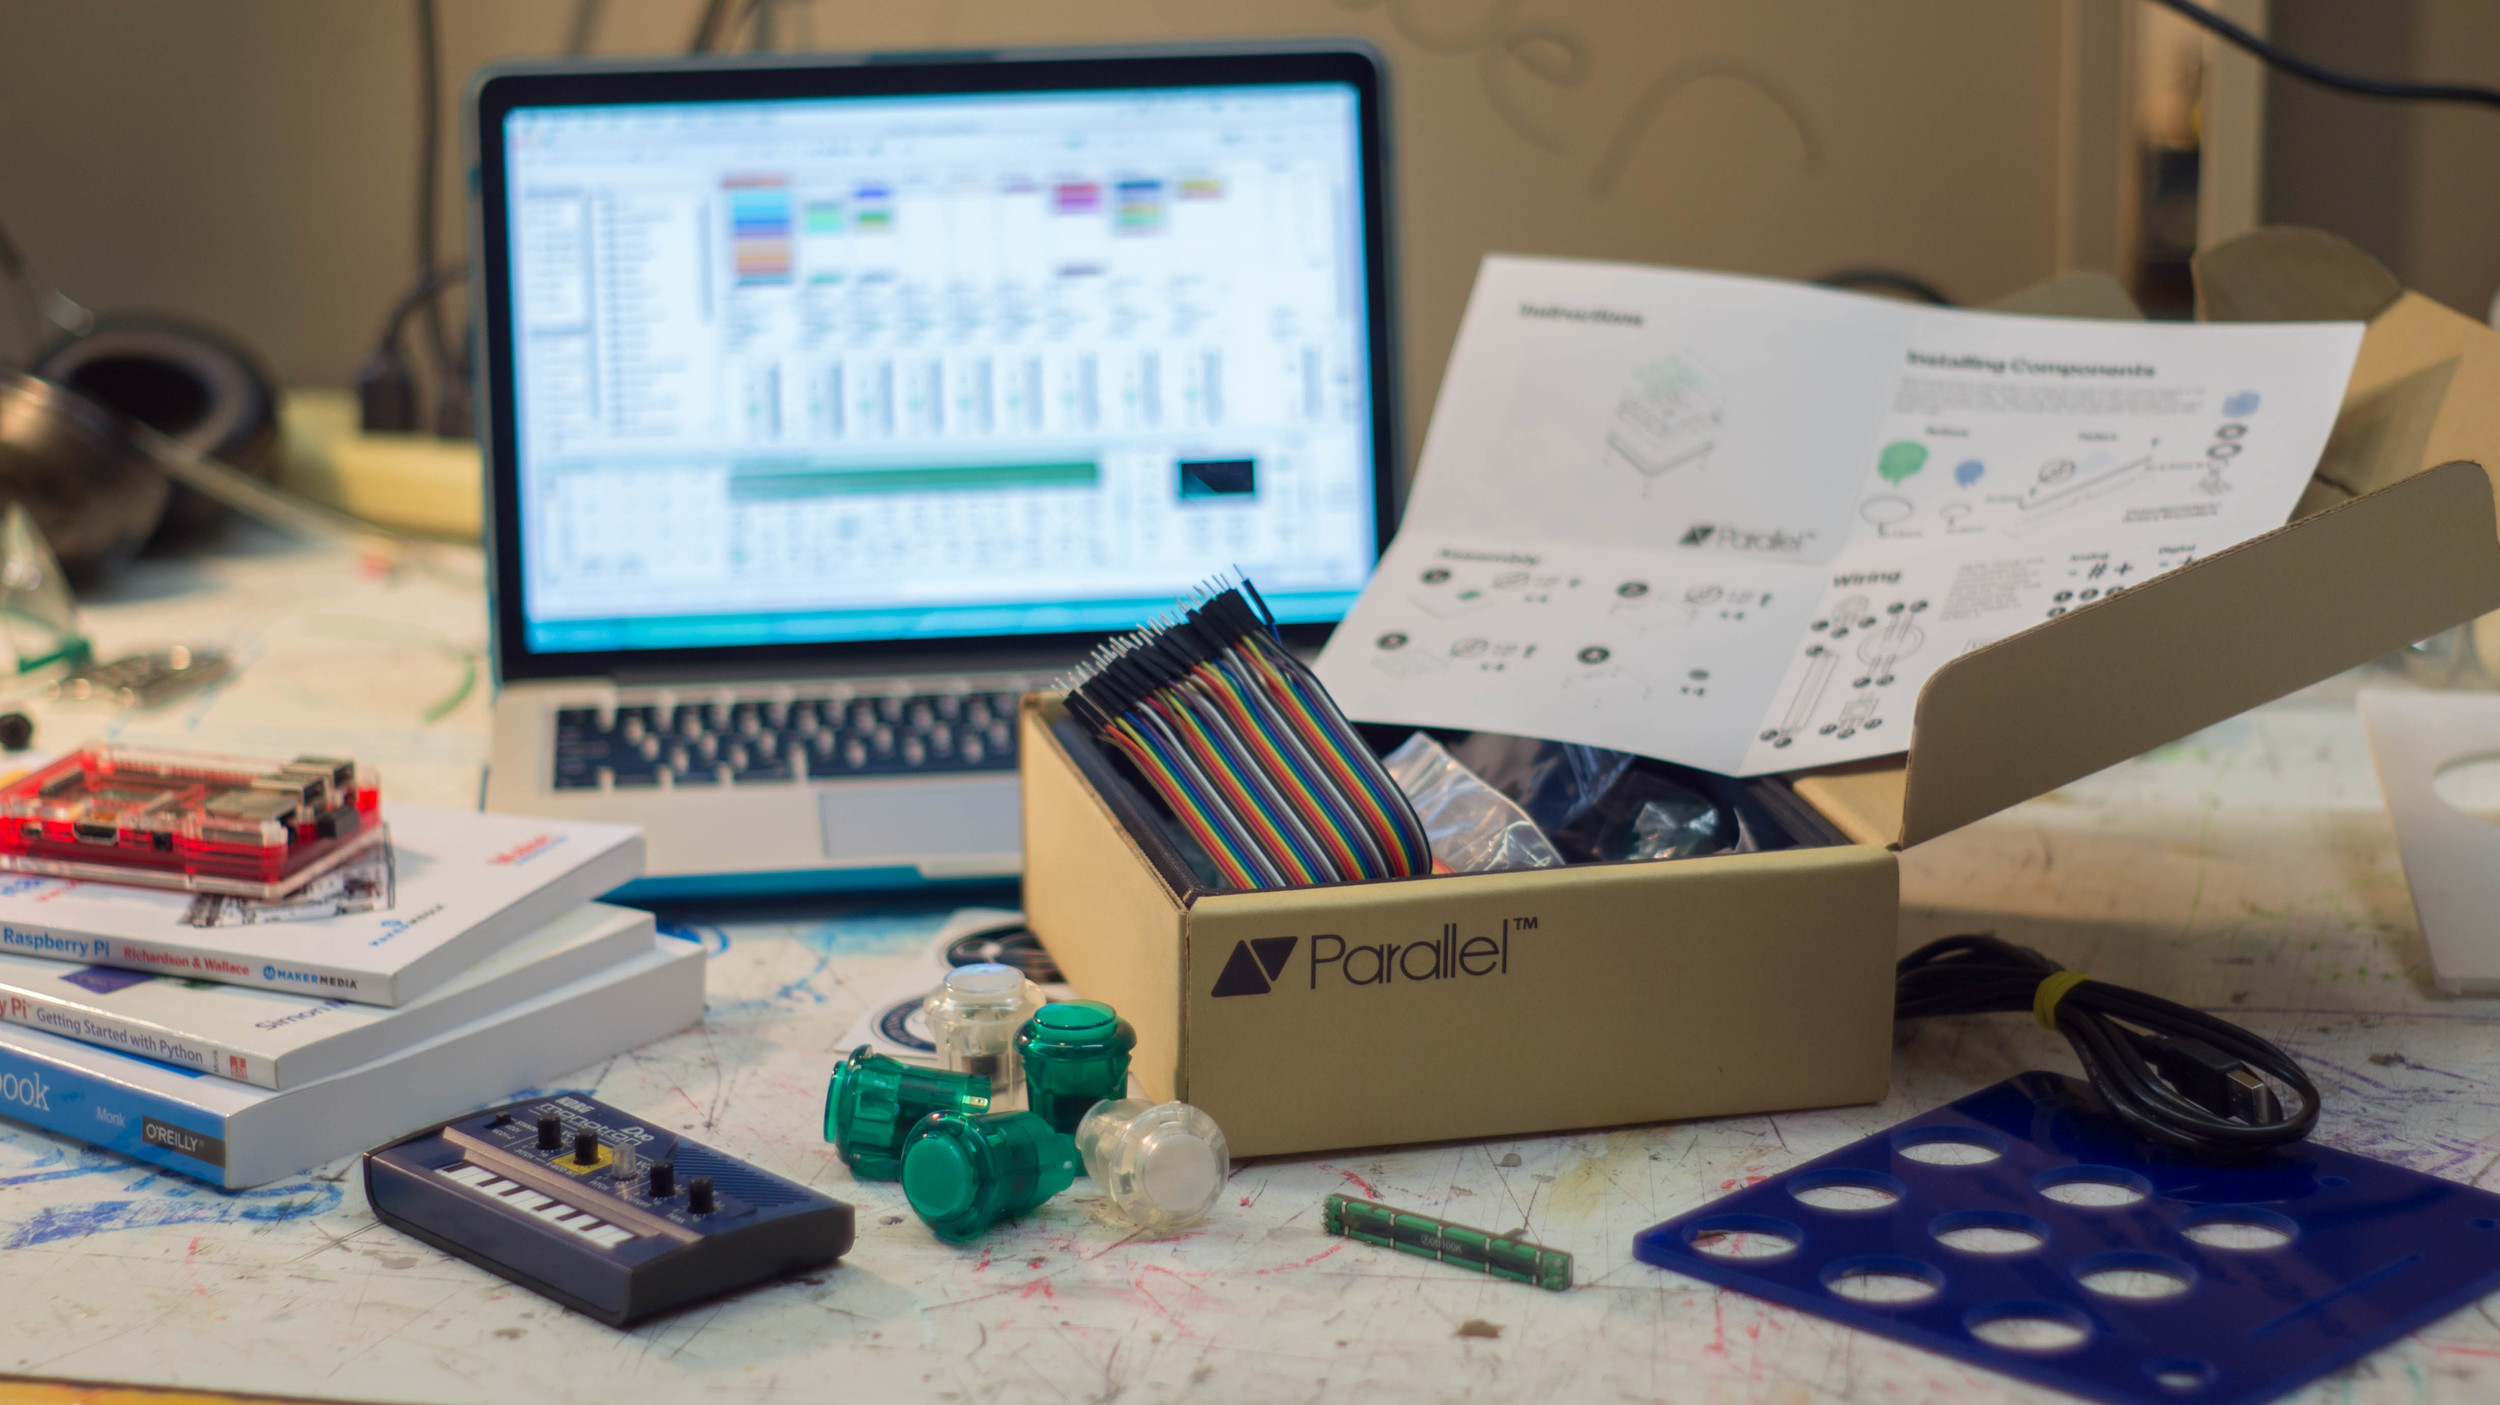
Contents
Each kit contains instructions for installing different components and a guide to wiring components to the Livid Brain Jr.

Construction
Each enclosure is made of durable ABS and Laser-Cut Acrylic. Each controller is built with a three piece modular enclosure, and controller configurations can be easily changed by swapping out your current control panel with a new one.


The Brain
The Brain Jr. doesn’t require any soldering or knowledge of programming and is MIDI mappable with all major DAWs. It can also be programmed with the free BrainV2 application for Mac or PC.
Play with your controller.

Infinite Uses
The Brain Jr. is MIDI mappable with all major DAWs, which means your controller will work with anything. Use it to produce beats in your studio, add effects to your tracks while you DJ, control analog gear, trigger visual effects, or improvise in a live setting.


About Parallel
Parallel is a design driven group focused on products that inspire creativity and enable self-expression while finding the middle ground between modern industrial design and the spirit of DIY. Parallel was created in the Summer of 2014 by myself and Geoffrey Eselgroth.

Updates
I learned a lot from this project. I’m going to start posting about its history, what went wrong (or at least not as intended), what I learned, and perhaps what I’d like to do next in a series of posts on my design blog.